How to Configure Your On-Demand Delivery Settings on Shopify
This instruction article will help you understand more about How to configure your on-demand delivery settings. The on-demand delivery is this optimal solution for Shopify store owners who are looking for the transfer solutions for expanding the shipping zones to local customers with the fastest and the most affordable way.
When you activate on-demand delivery, it is necessary for you to fill customer’s contact information and the instructions for the carriers picking up their orders.
Related Post:
- Configure Default Package Dimensions
- Configure New Products for Fulfillment by Shipwire
- Configure Existing Products for Fulfillment by Shipwire
- Set Your Products to be Fulfilled by Custom Service on Shopify
How to configure your on-demand delivery settings
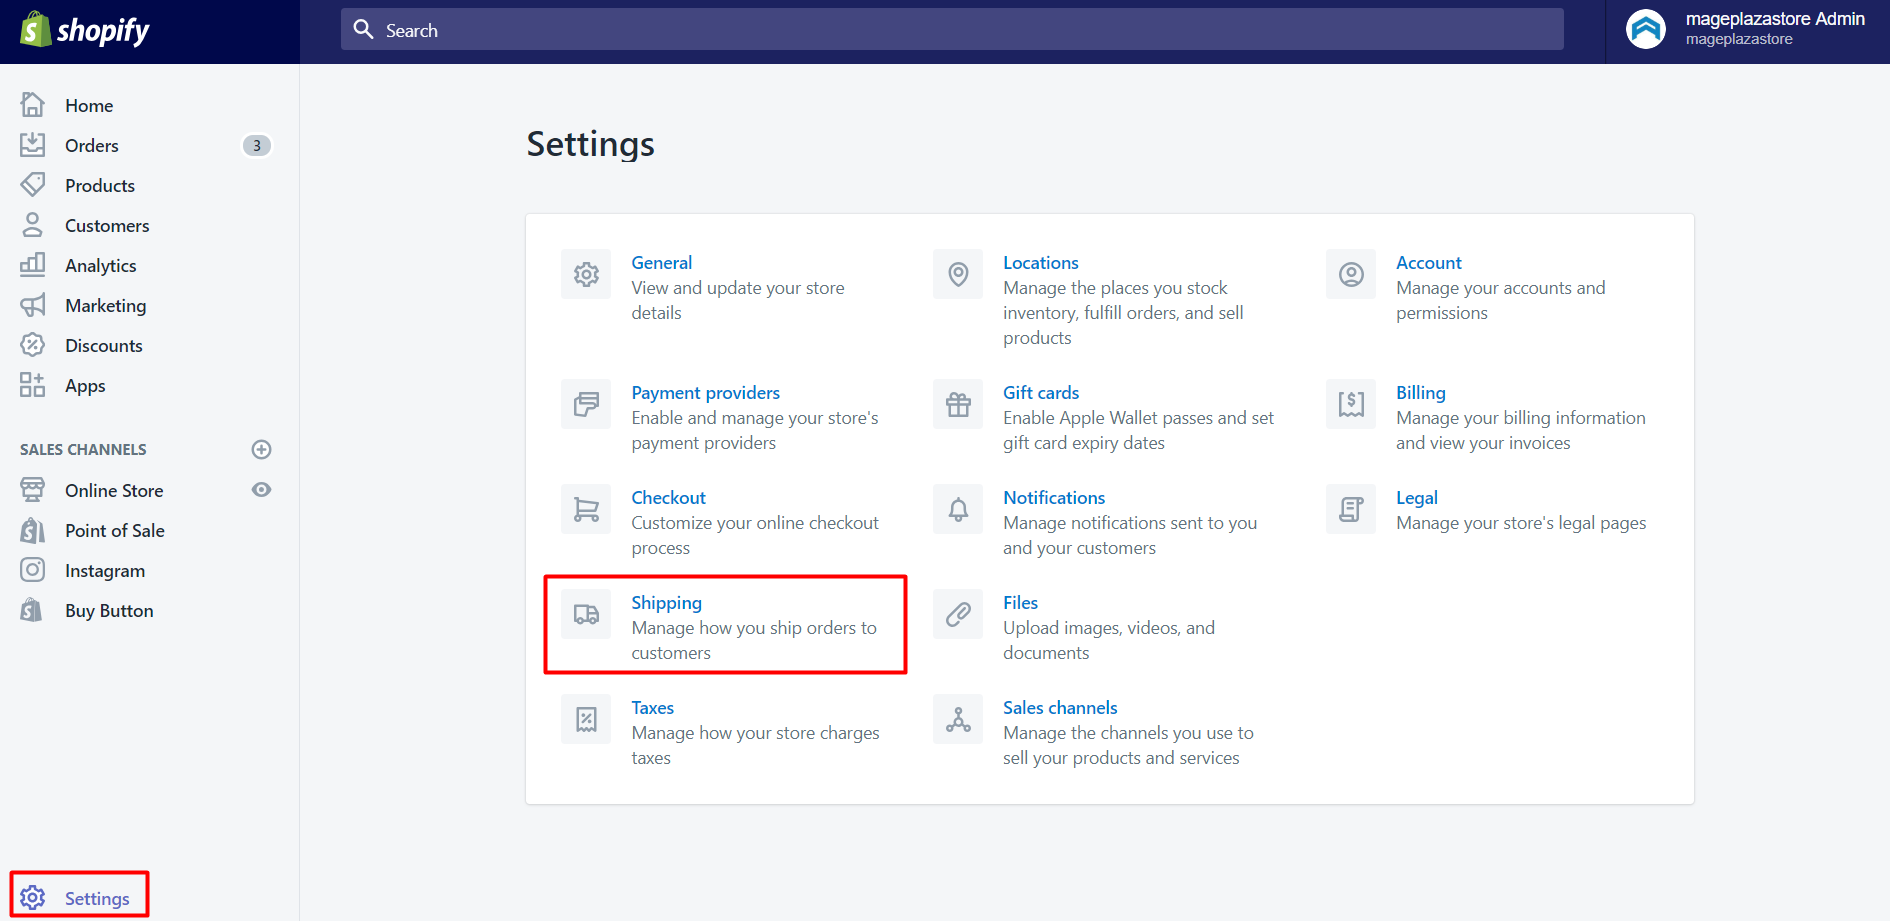
Step 1: Go to Shipping
On the home page of Shopify admin, you click Settings then choose Shipping

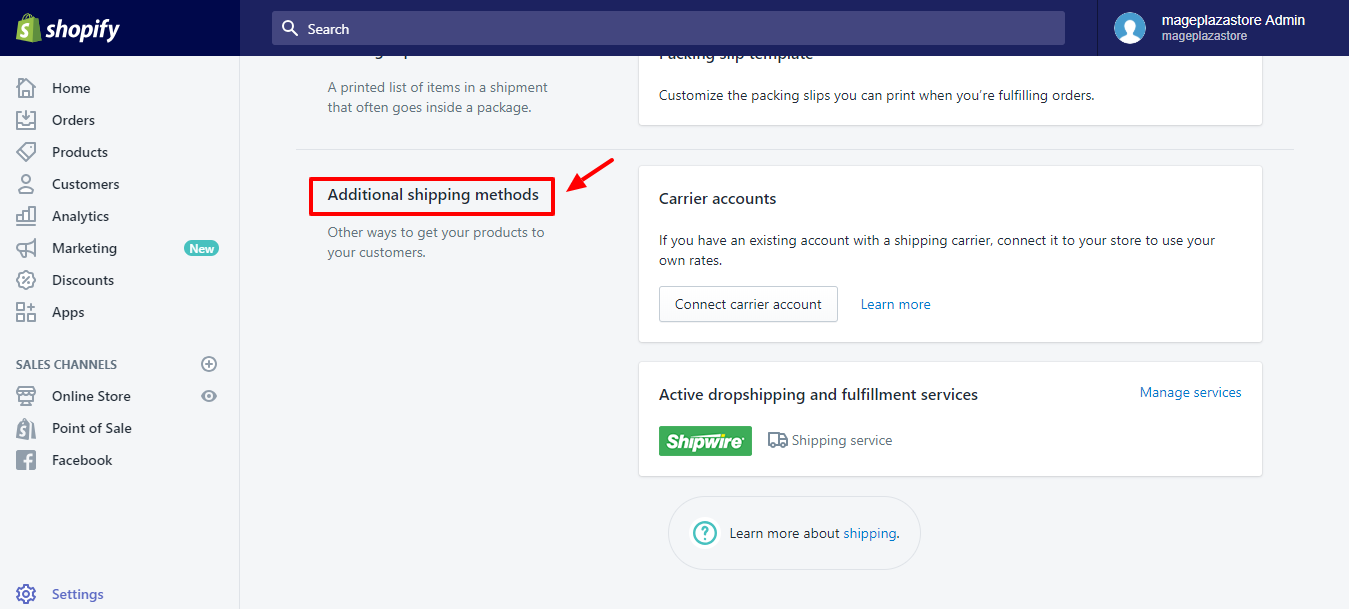
Step 2: Go to the On-demand delivery settings
Scroll down the Additional shipping methods section, click On-demand delivery settings for the service that you’re using.

Step 3: Configure the information
At this step, on the Settings page, you configure the customers and order’s information such as Contact details, Notifications, Pickup details, Availability, Constraints.
Step 4: Save the changes
Click Save to confirm the changes.
To configure your on-demand delivery settings on on iPhone (Click here)
-
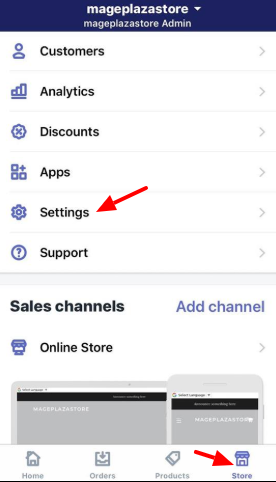
Step 1: Go to Settings You scroll down to
Storefrom your Shopify admin, the choose toSettings.
-
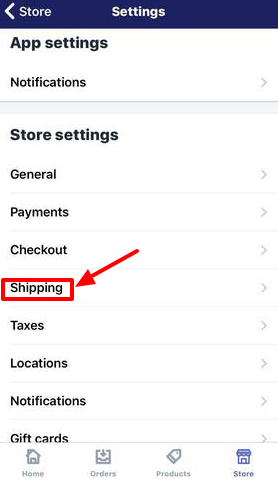
Step 2: Go to Shipping On the Settings section, choose
Shipping.
-
Step 3: Go to the On-demand delivery settings Scroll down the
Additional shipping methodssection, clickOn-demand delivery settingsfor the service that you're using. -
Step 4: Configure the information At this step, on the
Settingspage, you configure the customers and order's information such asContact details,Notifications,Pickup details,Availability,Constraints. -
Step 5: Save Finally, you can finish by choosing
Save.
To configure your on-demand delivery settings on Android (Click here)
-
Step 1: Go to Settings You scroll down to
Storefrom your Shopify admin, the choose toSettings. -
Step 2: Go to Shipping On the Settings section, choose
Shipping. -
Step 3: Go to the On-demand delivery settings Scroll down the
Additional shipping methodssection, clickOn-demand delivery settingsfor the service that you're using. -
Step 4: Configure the information At this step, on the
Settingspage, you configure the customers and order's information such asContact details,Notifications,Pickup details,Availability,Constraints. -
Step 5: Save Finally, you can finish by choosing
Save.
Conclusion
That’s how you configure your on-demand delivery setting. This above tutorial is for any store owners who want to learn more about an effective solution for their shipping - the on-demand delivery in Shopify. This tool will help you to maximize the transferability to approach to all addresses. For more posts like this, check out our tutorials for Shopify owners.


