How to Change Verified Bank Account Information on Shopify
If you get used to adding a bank account to pay for your invoices, then it would not be too hard to get on well with changing verified bank account information. After all, the two processes are still based on one protocol, bank account verification. As the billing information, you also need to update your account data if you make some changes at your bank. Keeping bank account data up to date will help your payment plan processes with ease.
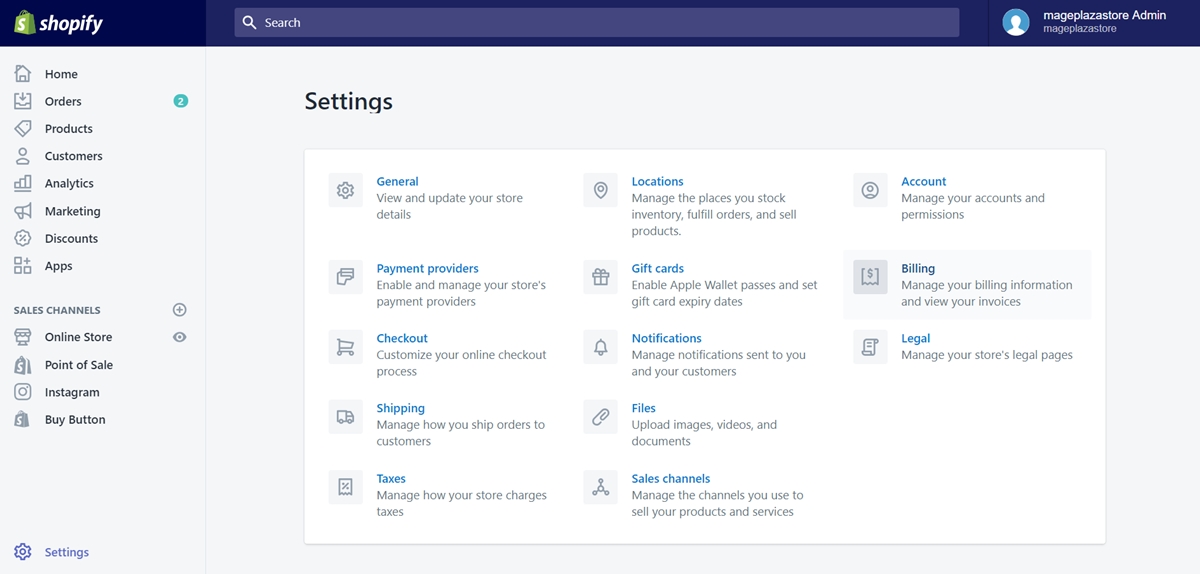
Step 1: Go to Settings, select Billing
In the Shopify interface, you need to find the Settings option with a gear icon.
After access the Settings section, select Billing.

Step 2: Click Replace bank account
Select Replace bank account in Billing information area.
Note that this procedure only works with Shopify Plus plans. Therefore, if you don’t have the plan, you cannot apply this instruction.
Step 3: Update billing information of the bank account
After the click, a window including all information of your bank account will appear.
At there, you can update, change new details as you want, such as account owner’s name, account numbers, routing numbers, personal/business type, etc.
Step 4: Click Start verification
You can click Start verification after finishing your updates to request a new verification.
Step 5: Confirm the deposits
The verification applied when you update your bank account information is quite the same as adding a new account. After 1-3 working days, Shopify will deposit two small amounts (no more than $1.00) to your bank account. Again, your job is to confirm the deposits by inputting the amount of each in two blank fields in the Billing information.
Step 6: Check your active payment method status
After adding a new bank account and setting it as an active payment method after the verification, you can also change its status when updating. Keep a tick in the box of Make this bank account my active payment method if you still want to. In case you don’t, you need to add a new active payment method instead.
Step 7: Finish verification
When you complete updating your verified bank account information, click Finish verification to confirm the procedure.
If your verification succeeds, the bank account you registered will be shown as Active. In case your verification fails, then you will receive a message stating that verification for your bank account was not successful. In this case, you should contact your bank to learn more about issues you may have before trying the procedure for the second time.
Summary
As you can see, changing verified bank account information is not so different from adding a new one. You can always change and update new details for your bank account on the Shopify platform. However, bear in mind that you have to keep those information matches your bank’s data.


