How to Hide SKU on WooCommerce Product Pages
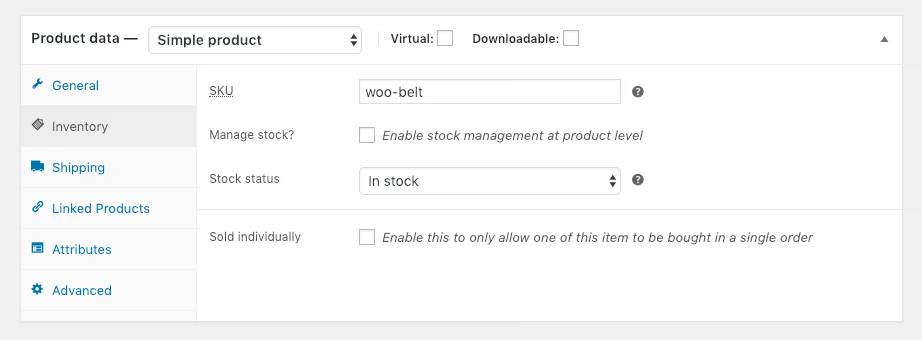
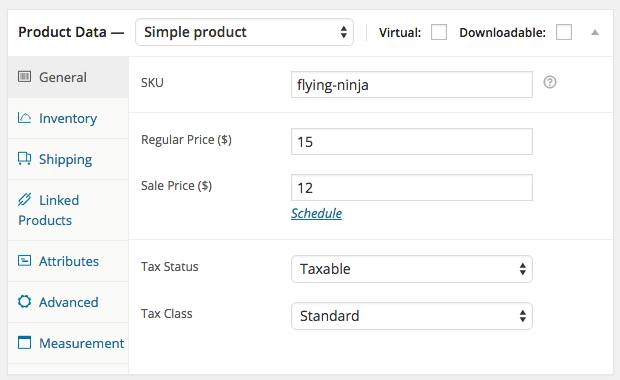
SKUs, or stock-keeping units, allow a shop to identify its items and their related qualities with a single, easy-to-remember number or word. WooCommerce includes SKU support by default. Their field may be found on the product editing screen, under the “Inventory” tab.
As a WooCommerce shop manager, you may need to conceal the SKU field on single product pages while leaving it visible in the backend (Product Edit page) for order tracking and product import/export. That is why today’s tutorial will show you how to hide SKU on WooCommerce product pages using two standard methods.
Why do we need to hide SKU on WooCommerce Product pages?
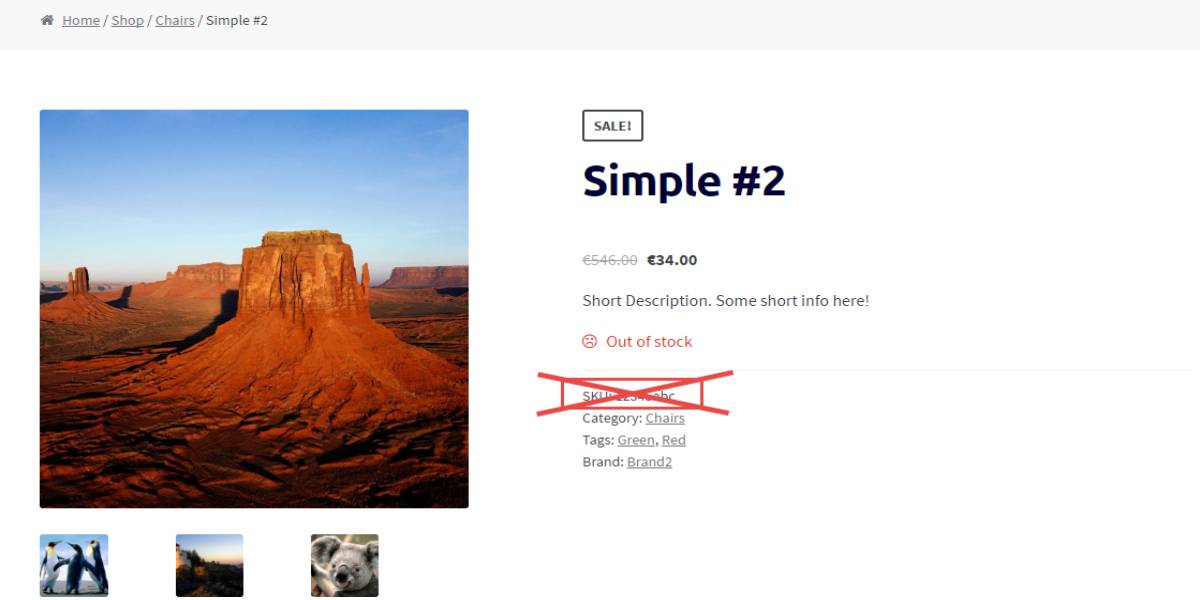
SKUs are critical for stores that deal with a large number of goods and inventory fluctuations. They play an essential role in online retail recommendation/suggestion systems. On a more fundamental level, they are crucial in inventory management and tracking. So SKUs are good, but what’s not so great is that many WooCommerce themes, like the popular Storefront, display them by default on your site’s product pages.
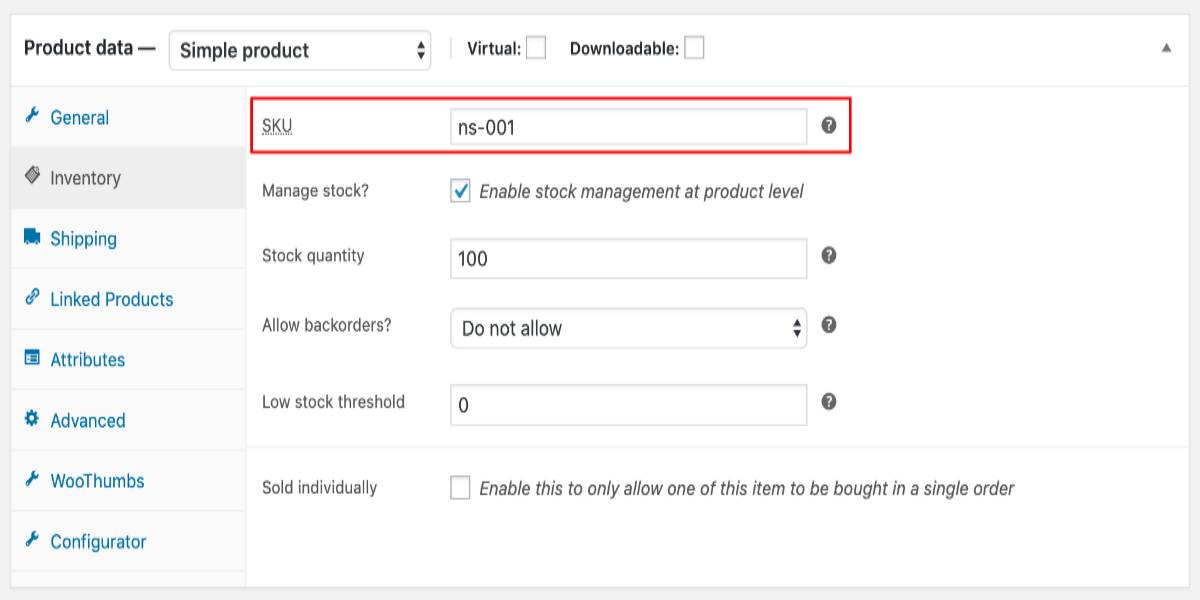
Typically, your consumers are uninterested in the product SKU, and this information only messes up your purchasing process. If you don’t mind getting your handles a little muddy in some code, you may eliminate the SKU field completely from your WooCommerce store (or want to pay a developer to take care of this for you).
How to hide SKU on WooCommerce Product Pages
Method 1: Coding
You may remove the SKUs from your WooCommerce product pages manually. Keep in mind that this is a sophisticated technique that is not suitable for everyone. Going this way does come with certain risks. It is advantageous to have prior experience with WordPress programming.
The first step is to create a backup of your website. If you make a mistake in the following steps, your WordPress theme will have to be restored. Change your code locally, never on a live site. When you’re finished, use FTP to upload the modifications to your site’s server.
For all pages
Log in as the admin account to your WordPress site and go to the Dashboard. Select Appearance Menu > Theme Editor Menu from the Dashboard menu. When you access the Theme Editor tab, go for the theme functions file and add the function to conceal the SKU fully. If you don’t need to utilize SKUs in your shop, you may deactivate them entirely by inserting the following code snippet into the functions.php file of your custom site plugin or theme:

When the SKU is deactivated, it is no longer displayed on the product page.

Not only will SKUs be removed from the product page, but they will also be removed from the admin.
This option totally eliminates SKUs from WooCommerce by deactivating them across the board.
For only product pages
Some stores maintain SKU for administration purposes solely but deactivate SKU display on product pages. However, you can conceal the SKU using CSS, but you can also deactivate them all together on product pages while keeping them for admin usage.
The first step you need to follow is to create a child theme. No one should make changes to a WordPress theme directly. When the theme is updated, all of your modifications will be replaced. Fortunately, WordPress offers a solution for this in the form of child themes. Creating and configuring a child theme is a simple procedure. It’s time to get your hands dirty with some PHP programming. First, create a functions.php file in the directory of your child theme. Second, open that file and paste the following code at the bottom. Here’s a snippet that will deactivate them entirely on product pages while still allowing them to be used in the admin.
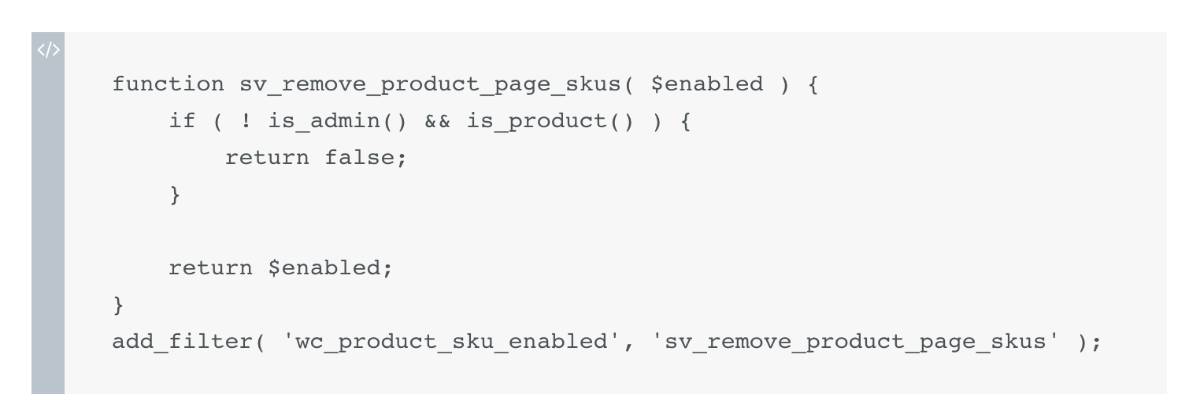
Finally, make a backup of the functions.php file. The code you entered will disable the display of SKUs on your product pages. Importantly, it will maintain the field on the WooCommerce admin side. Be aware that many other internet instructions contain code that will completely delete SKUs from WooCommerce, both front and admin, which may not be what you want. You must now upload your child theme to your web server after being modified using our code. FTP is the most popular way, and there are hundreds of free FTP applications available. Uploading files is not for everyone, so you may want to consider hiring assistance. Your store’s web host may also be able to assist you through their support personnel.
It’s finally time to put your code through its tests. The Appearance menu item is available in the WordPress admin. To locate your child theme, navigate to the Theme submenu option. If you followed all of the steps correctly, you should choose your theme and be ready to go. If the child theme does not show, or your store starts throwing problems or does not load, you will know there is a code problem. When this occurs, go through the code and make sure you uploaded all of the files correctly. Of course, this isn’t for everyone, and it may be time-consuming and irritating. Thankfully. There is a faster approach to remove the WooCommerce SKU from your theme. Let’s move to the following method to discover it!
Method 2: Using the third-party plugin
You may delete SKUs from your site in seconds by purchasing the plugin Remove WooCommerce Features. You will not be required to create any code or pay a WordPress professional to perform the work for you. The entire procedure may be completed in three simple stages.
- Step 1: Navigate to the WooCommerce area of your WordPress installation’s admin menu and select the Remove Features option.
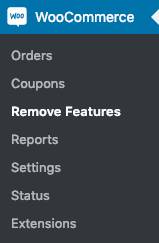
- Step 2: Find the SKU setting and tick the box so that it looks like this:

- Step 3: SKUs will be removed from your site’s product pages by clicking the “Save Settings” button. The transformation occurs immediately.
Remove WooCommerce Features preserves the SKU field intact on the admin side, so you may still utilize it internally. One additional benefit of using our plugin is that your changes will be permanent regardless of the theme you are using. You don’t have to upgrade files to keep SKUs off your site continually. Furthermore, Remove WooCommerce Features supports any extra modifications you may wish to make to your shop. The procedure for each is the same as for deleting SKUs.
Conclusion
Though it may seem inconvenient to create and assign SKUs to your items, there are compelling reasons to do so. SKUs not only make your life easier; they also enhance your earning potential and allow clients of all types to locate and purchase your items more quickly. Therefore, we recommend you take a critical look at SKUs in your store before deciding to deactivate them.
We hope this article will help you understand how to hide SKU on WooCommerce product pages. However, as we said before, just think carefully about removing this functionality and do what you need to optimize your store management!


