How to Create a Pay Later System in WooCommerce
Pay later is one of the most used payment methods that is widely applied throughout the eCommerce world.
Customers are charged at the time they place their order in most online retailers. But have you ever thought about your clients having a virtual wallet or balance where they may add credit and pay for their items in advance? Or do you want clients to place items online and then pay at the end of the month by paying off their balance? That’s where the pay later system comes into play.
In today’s blog post, we’ll guide you through a process that you can follow to Create a Pay Later System in WooCommerce for your WooCommerce stores. Before that, we’ll take a quick look at some of the practical benefits that a Pay later system can bring to your WooCommerce stores.
Sounds useful? Let’s get started!
How a Pay Later System benefits your WooCommerce Store
If you still hesitate to equip your WooCommerce store with a Pay later system, or you just need a strong motivation to make your final decision on Creating a WooCommerce Pay Later System, this section is for you.
Below are the 3 most significant contributions that a Pay later system makes to your WooCommerce store. Let’s check out!
-
It helps your customers make quicker decisions: In most cases, customers are required to pay as soon as they decide to buy a good or service. However, for some indecisive customers, it may take them more time to make up their minds about buying something, especially when they buy it online because of the decreased trust in online shoppers. Therefore, a Pay later system, though doesn’t make you bear any loss, somehow boosts your customers’ confidence when buying items from your store. It may be because of the psychological effect of the pay later method.
-
It promote customer loyalty and, as a result, customer retention: Getting your customers charged for your products is the very first step to build customers trust and royalty. After attracting their attention by a pay later system, it’s your turn now to make them satisfied. Providing the same quality, your WooCommerce store will be ahead of the game with your competitors thanks to Pay later system. As a result, customers will keep buying your products because of the advantage they gain from that payment method.
-
It also attracts new customers: For those who have never been your customers but are looking for the kind of solutions that you’re providing, you’ll stand a higher chance that they’ll try your products instead of your competitors’. When buying something from your WooCommerce store for the first time, they may still wonder about the quality of your products. A pay later system is like a “promise” and lets them feel the sense of advantages from scratch, which encourages them to try your items.
How to Create a WooCommerce Pay Later System
Now as you’re clear about your choice of Creating a WooCommerce Pay Later System, you may be ready to know about how to set up one for your WooCommerce store.
Step 1: Get prepared
If you haven’t got WooCommerce, just set up WooCommerce and upload your items as the first step:
-
On your WordPress website, install the free WooCommerce plugin. This is made simple via the WooCommerce Setup Wizard. You may also consult the official documentation for further information on getting started.
-
Then, for each thing you want customers to be able to purchase, create a product. If you’re a school, for example, you’ll most likely want to build two products: one for ‘School Lunch’ and another for ‘Snack’ or ‘School Trip - London.’ School uniforms can also be added as distinct products, with a size variation for each size selection.
-
Set up payment gateways in WooCommerce depending on how you want clients to pay and top up their accounts. We recommend PayPal and Stripe, both of which are simple to set up. Customers who like to pay with credit or debit cards will be able to utilize these payment channels, as well as those who prefer to use PayPal.
Step 2: Install a pay later plugin
The next stage is to convert your business into a WooCommerce pay later system, which allows customers to accumulate credit and pay for their items with their balance. You’ll need to install a WooCommerce credit plugin to do this.

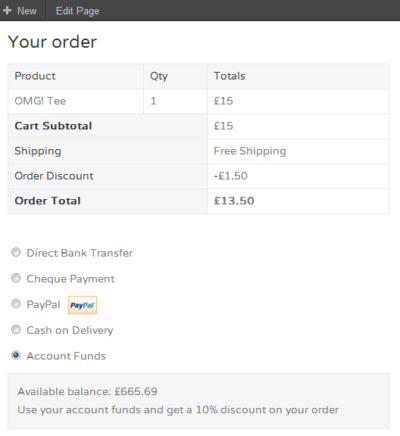
Account Funds is a WooCommerce addon that can be found at woocommerce.com. It creates an online wallet for consumers on your WordPress website, where they can contribute dollars, top up their balance, and use their balance to pay for orders.
WooCommerce Subscriptions and Account Funds are a great match. If you want clients to set up an automated monthly payment to pay off a predetermined amount each month, this is the way to go. It’s a better option than having to manually top up their balance every time.
Step 3: Set up Product Table view
WooCommerce websites with online balances and credit systems are designed for recurring customers, as I indicated previously. This implies that the standard WooCommerce shop design isn’t appropriate.
Your store’s items are displayed in a grid format by default, with around three products per row and huge photos. Customers will need to navigate to a different page for each product to select quantities, variants, and add to cart. That’s obviously useless for clients who know exactly what they want and need to place an order immediately.
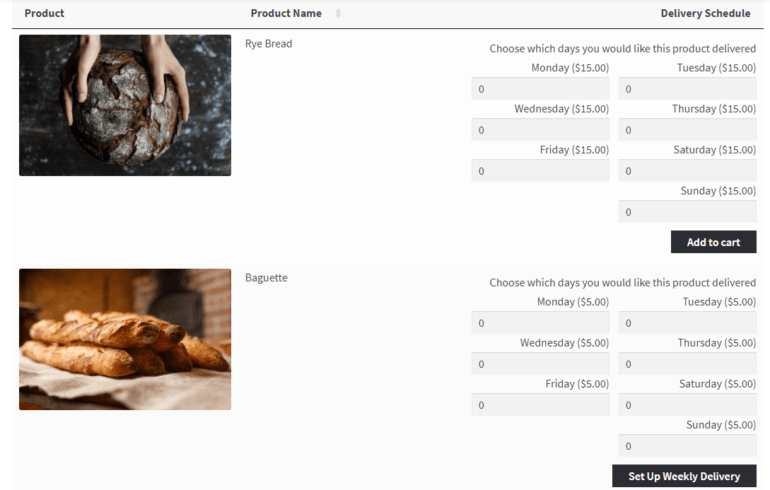
Instead, you’ll need a speedy WooCommerce order form layout with a user-friendly table that shows items. For this, you’ll need the WooCommerce Product Table plugin.
The WooCommerce Product Table presents the goods you entered in Step 1 in a rapid order form with quantity pickers, variation dropdowns, and other features. This is a far more effective technique to market to repeat consumers who are already familiar with your goods.

Step 4: Make private and hidden retail spaces (optional)
Some WooCommerce pay later websites are public, allowing anybody to register and place an order. If that’s the case, you can go forward to the next step. Continue reading if you only want certain people to be allowed to add credit and submit orders.
For this section, we’ll let you pick between two plugins. Whether you want to keep your entire WC store secret (for example, a school selling just to parents) or expose various goods to different individuals will determine which plugin you choose.
1. WooCommerce Private Store

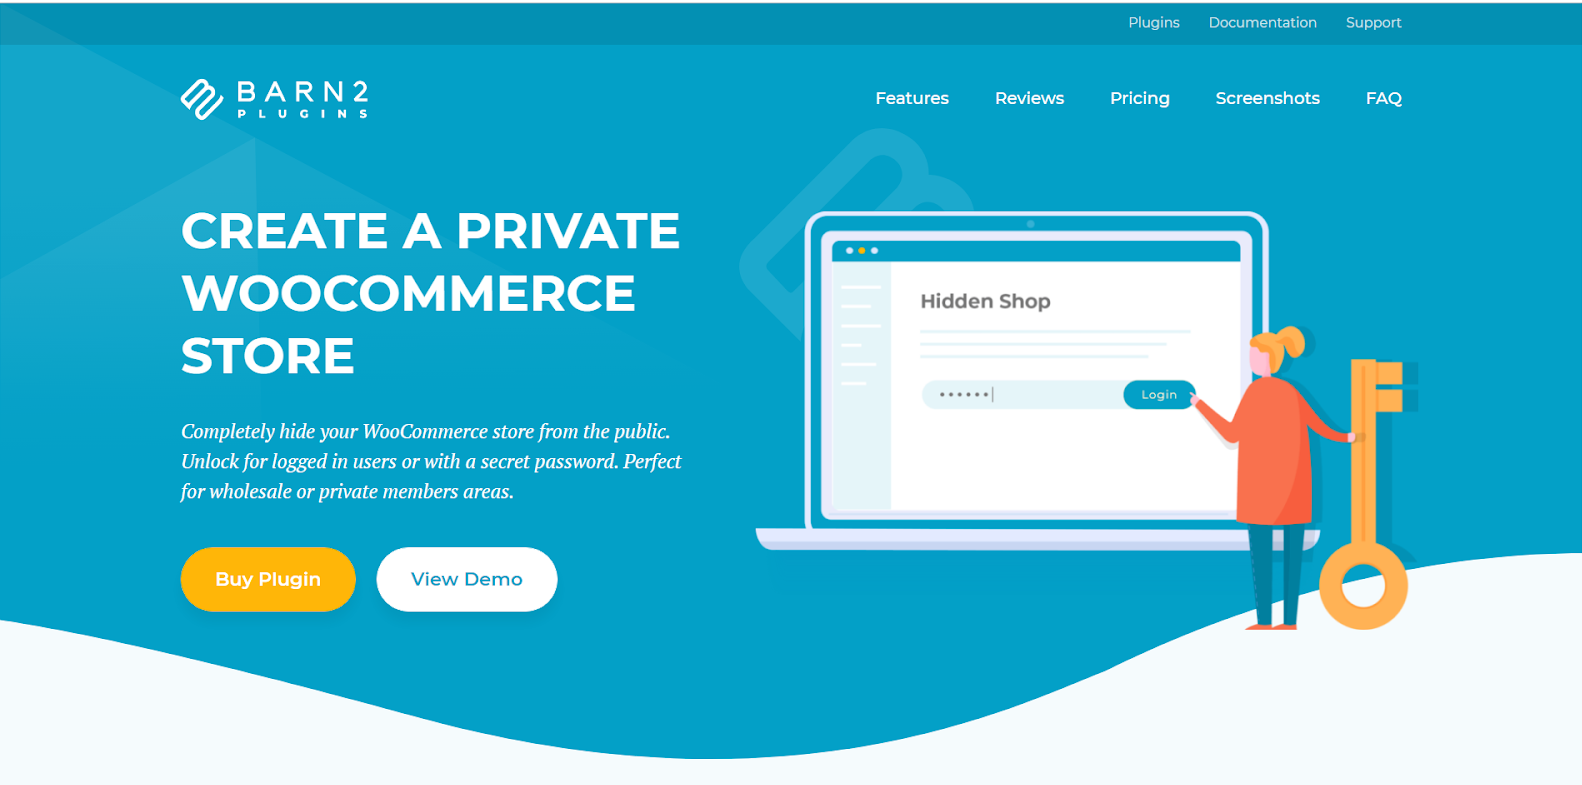
WooCommerce Private Store makes it insanely simple to conceal your WordPress site’s shop from public view.
The non-e-commerce sections of your website will remain open to the public. This is ideal if this is also your primary corporate or school website.
All WooCommerce-related material will be hidden from public access, including store, product, cart, and account pages. You may choose whether customers must provide a basic password to open the store or if the store will automatically unlock when they connect to their unique user accounts.
For example, a school’s primary website may be built using WordPress. They utilize Woo Private Store to build a covert e-commerce section where parents can purchase school dinners and uniforms, fill up their account, and pay later on a monthly or ad hoc basis.
2. WooCommerce Protected Categories

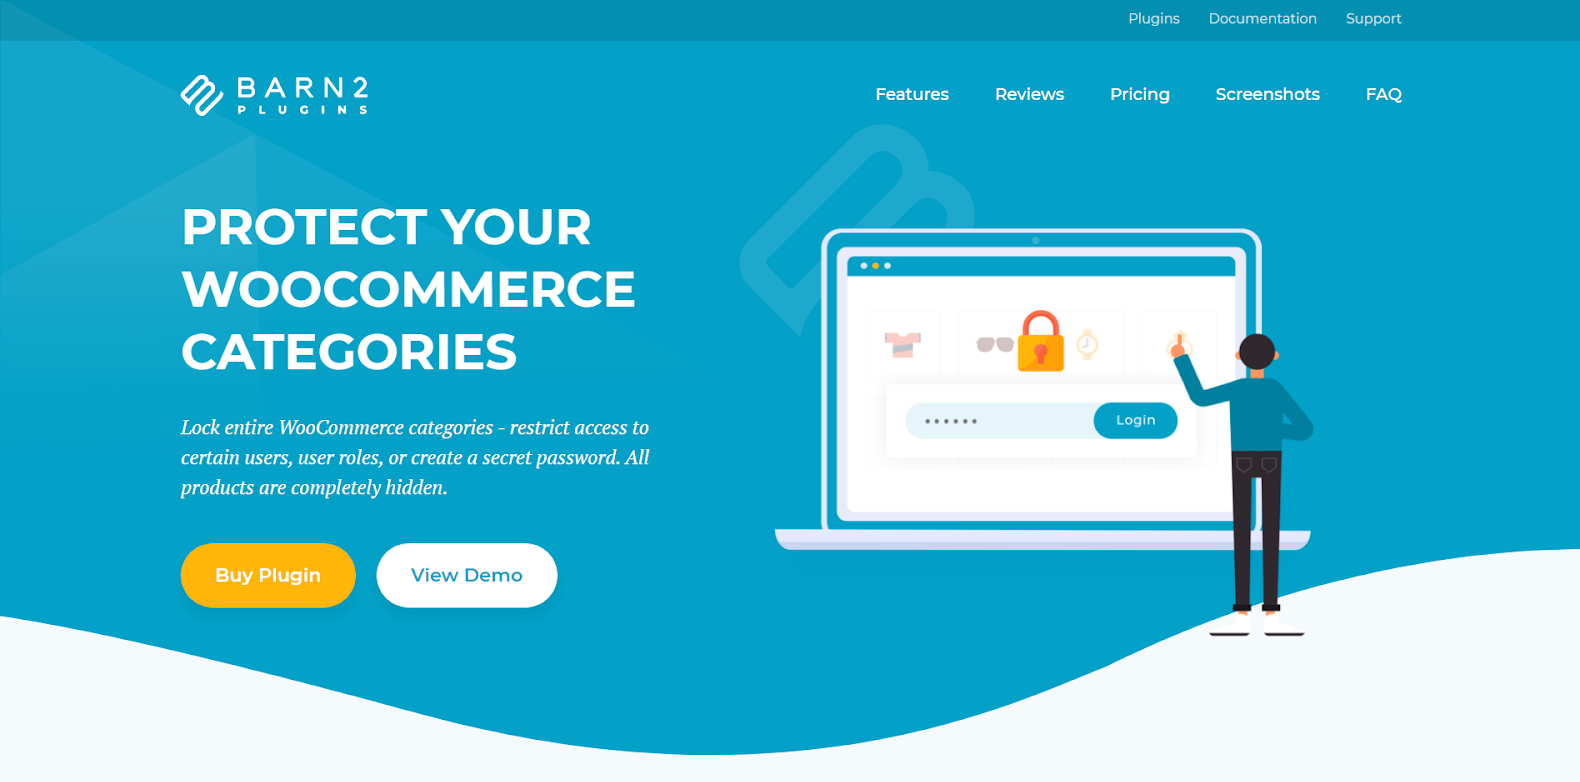
WooCommerce Protected Categories are required if you need to sell various items to separate customers, or if you need to sell to the public and privately.
Protected Categories in WooCommerce give you additional control over who may access certain areas of your shop. For example, you might use it to have a public shop and one or more private spaces concealed from public view. You can use it to allow anybody to explore your store, but you’ll have to login or enter a password before they can buy anything. You may even use it to make numerous secret businesses, such as a shop for parents and a shop for instructors.
Final Thoughts
As an online store owner, you should not miss out on the Pay later system because of all the advantages you’ll get over your competitors and stand out from the market. Luckily, if you use WooCommerce as your platform of online business, you’ll get a huge number of methods to Create a WooCommerce Pay Later System, one of which is mentioned in our blog.
We hope that our instruction will help you simplify the process of setting up the Pay later system and achieve outstanding results with your business.


