How to Add Terms & Conditions Checkbox to WooCommerce Checkout
Terms and Conditions is the document that enables a visitor or customer to become fully informed about the terms under which he or she may make a purchase. Occasionally, you’ll want your clients and visitors to be aware of the terms and conditions prior to making an online transaction. A simple approach to accomplish this is to construct a Conditions and Conditions page and include a checkbox that allows the buyer to read the terms and agree to them by checking the checkbox.
This guide will teach you How to Add Terms & Conditions Checkbox to WooCommerce Checkout.
Why you need to Add Terms & Conditions Checkbox to WooCommerce Checkout
A terms and conditions agreement is a contract between your store and its customers. Although it is not a legal necessity, your organization must safeguard against specified eventualities.
A contract with terms and conditions might provide you with legal protection. A well-drafted contract will restrict your legal liability, protecting you from certain violations and product defects. Terms and Conditions are occasionally abbreviated as Terms of Service or Terms of Use.
In summary, it is a collection of roles and conditions upon which a user must agree prior to using your products or services.
How to Add Terms & Conditions Checkbox to WooCommerce Checkout
Step 1: Create a Terms & Conditions Page
To begin, enter into your WordPress Dashboard, navigate to the Pages tab in the left column, and click on the Add new submenu button.
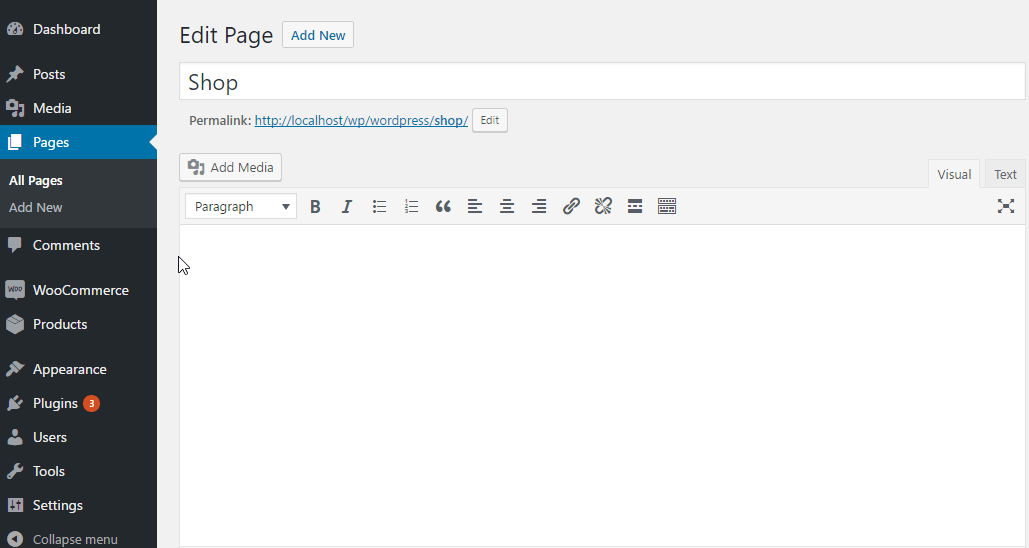
A page editing window will open, allowing you to use all of the editors and modules available to construct a page containing the terms and conditions content. Enter the title of the Terms & Conditions page.
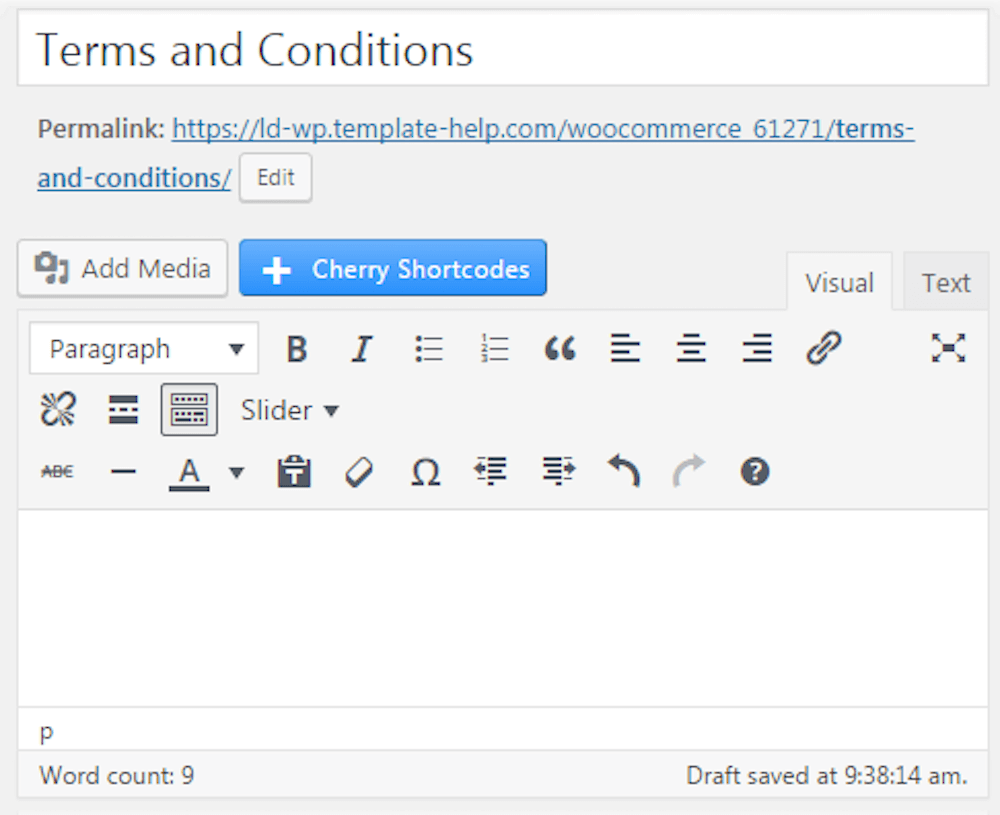
Then, in the content field, enter the terms and conditions text. Utilize the Preview button to see how a page appears. Now that you’ve published the page, it’s ready to be added to the Checkout page.
Step 2: Enable the Terms & Conditions checkbox
Navigate to the WooCommerce tab, which is situated in the Dashboard’s left column. Select the submenu Settings (WooCommerce includes its own settings). Open the Checkout tab from the top menu.
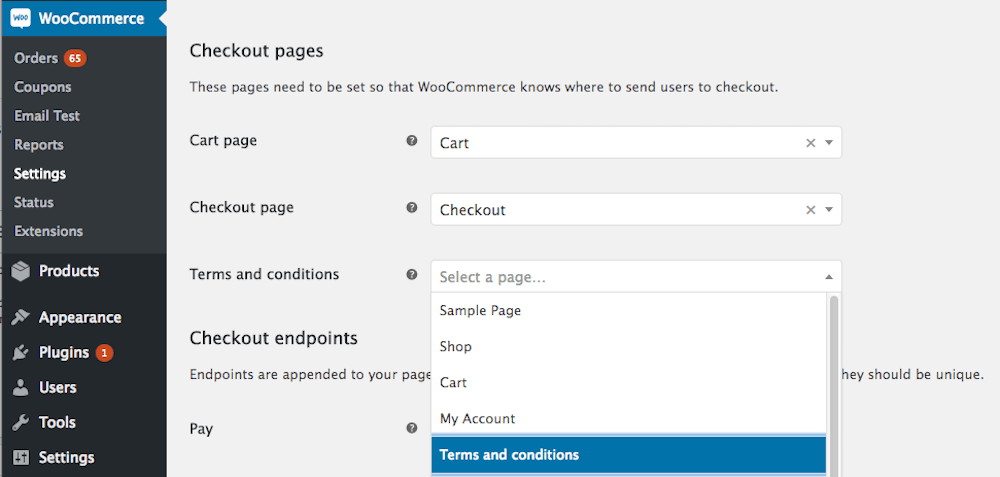
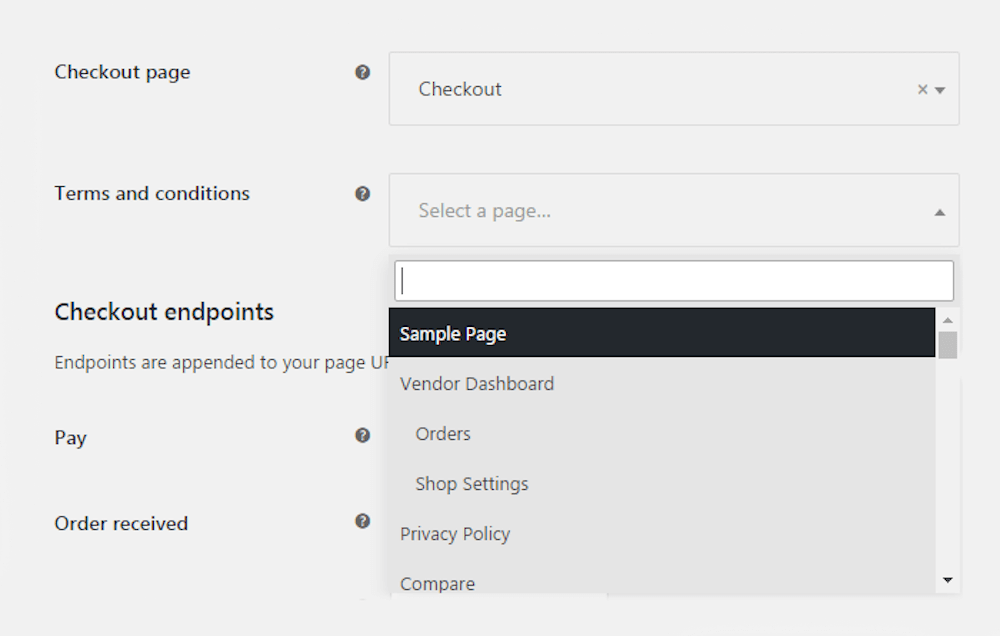
You can see the Terms and Conditions area here, which you may use to give the newly created page. Select the newly created page from the dropdown list and save your changes. include a checkbox for Terms and Conditions.
Everything is in order! Now, navigate to the Checkout page and look for the Terms and Conditions checkbox near the bottom of the page. Additionally, there will be a link to your Terms & Conditions page.
How to Add Terms & Conditions Checkbox to WooCommerce Checkout with code snippet
If you wish to have a quicker way to set up you Term and Conditions checkbox, you can choose to use this code snippet.

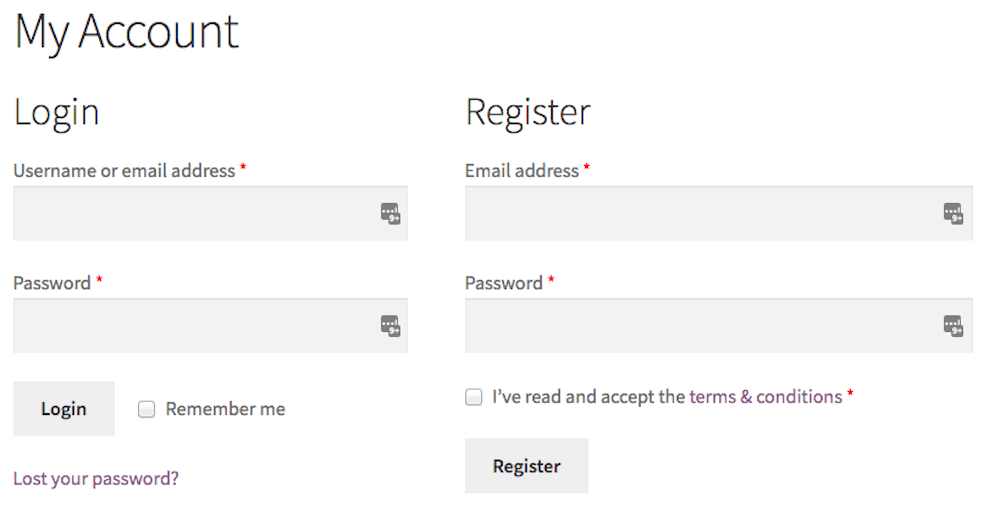
This code should be added into the function.php file of your active child theme, or active theme. This is the result.
Final thoughts
In summary, you’ve been shown how simple it is to include a checkbox for accepting Terms and Conditions on WooCommerce. Additionally, we offered a snippet that restricts its display to the signup page. You should, however, use extreme caution when altering the function.php file. If you make a mistake, your site will display a serious error.


