How to Add a Custom Product Type in WooCommerce
WooCommerce assists you with product management by offering a variety of product categories. Classifying your items into distinct product types is an excellent method to organize them in your business. When working on a specific and complicated solution with WooCommerce, you may need to create your WooCommerce product type.
Today’s tutorial will show you how to add a custom product type in WooCommerce using two methods. We will construct an Advanced product type to demonstrate how to display current pricing, allow custom prices, and add a separate panel. So, let’s dive in!
Method 1: Coding
The first method is the most traditional one - coding. Before we begin coding, navigate to wp-content/plugins and create a folder called WC-product-type, then add the following to it:
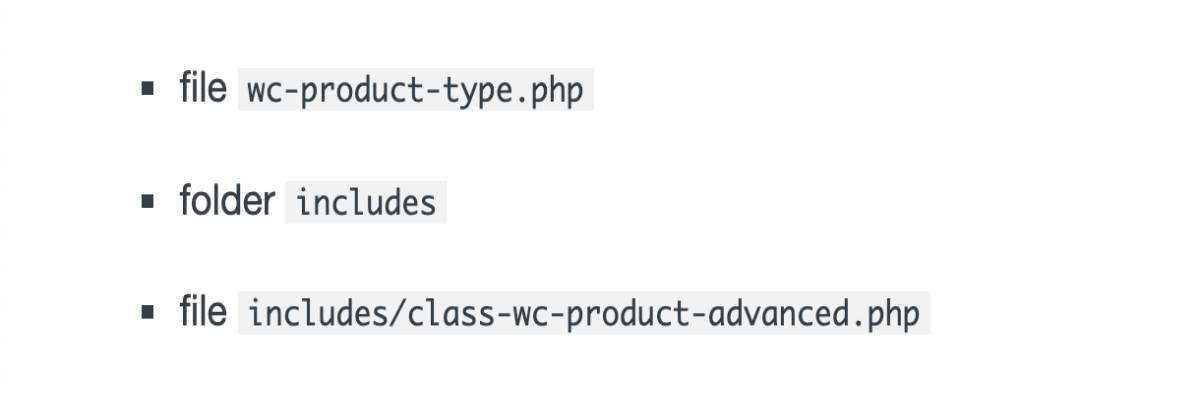
Step 1: Create a new WooCommerce Product Type class
You should specify what your product type will accomplish before you start programming. This will aid in determining which product types to expand. If it’s something different, you may extend the abstract class. Our Advanced product type will be straightforward. It will offer sophisticated pricing to administrators and any other user who can manage settings. As a result, we must likewise allow others to modify the standard pricing. Keeping this in mind, we can build our WooCommerce product type on top of the Simple product type. In your WC-product-type.php, add the following code.
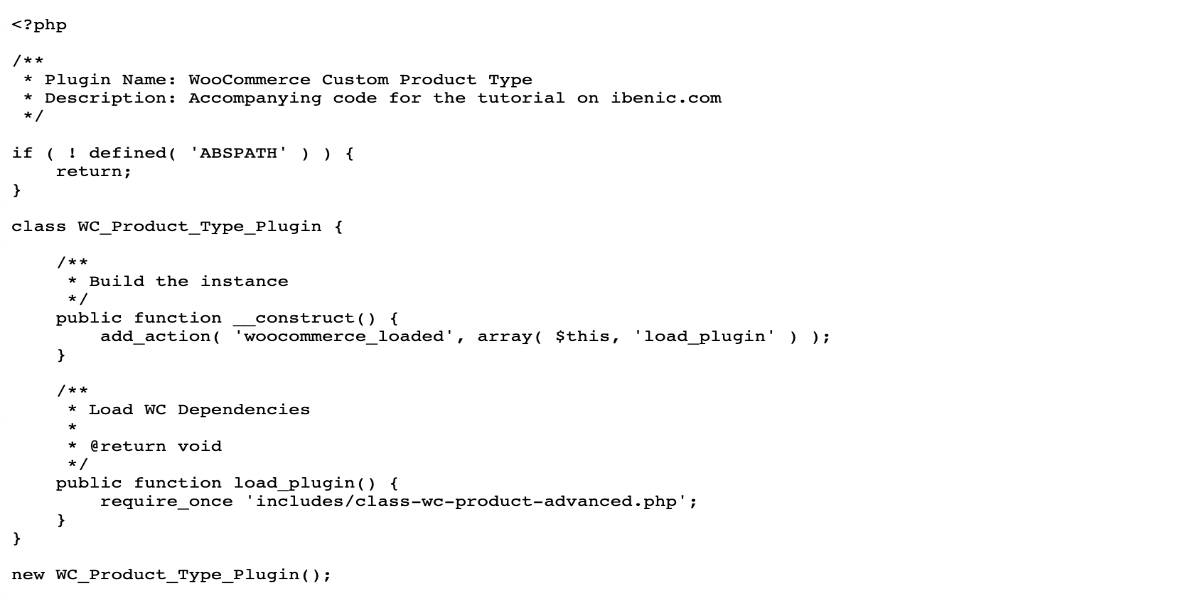
By using the action woocommerce_loaded, we will load all WC dependencies once WooCommerce has loaded. This ensures that when we include our new creation, the WooCommerce product types already exist. Remember to activate the plugin to view the changes. Now, open another file - includes/class-wc-product-advanced.php - and add the following codes:
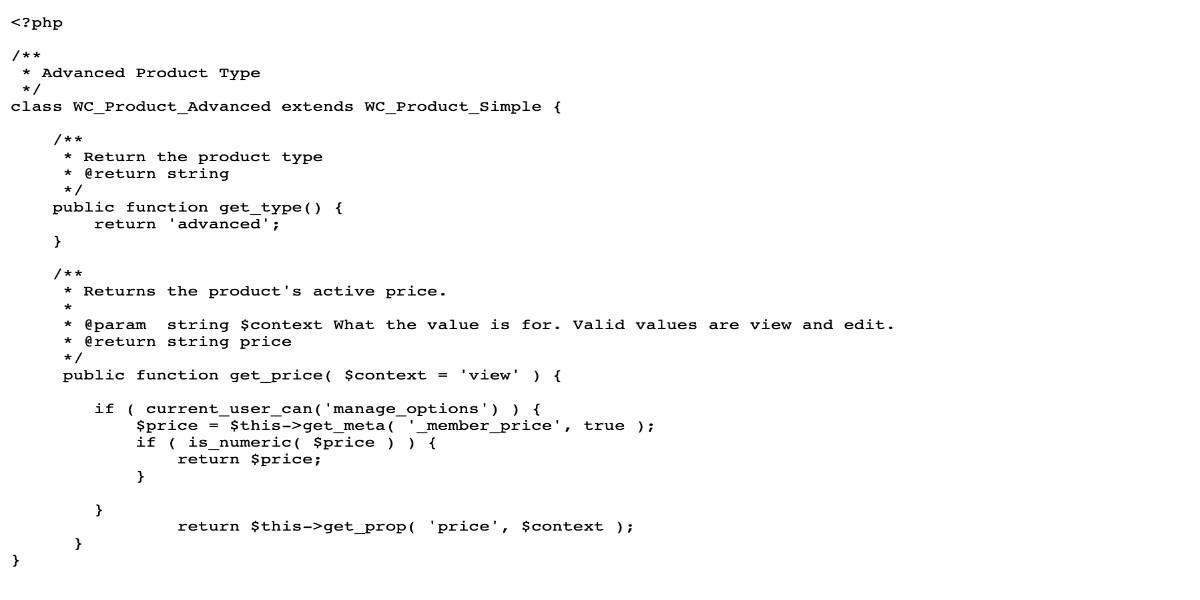
That concludes our product category. We rework the get type_function to retrieve the product’s type, as well as the get_price method. We could have filtered it, but we wanted to show you that you can entirely modify the inherited methods if necessary in this article. In this way, we bypass all filters and return the pricing to the members (administrators with this code). Now, it’s time to connect the new custom product type to your WooCommerce store.
Step 2: Attach the custom type
We must sort through the various WooCommerce product types to add the new custom one. As a result, the user will be able to choose our product category. Now, let’s add this to our main plugin file:
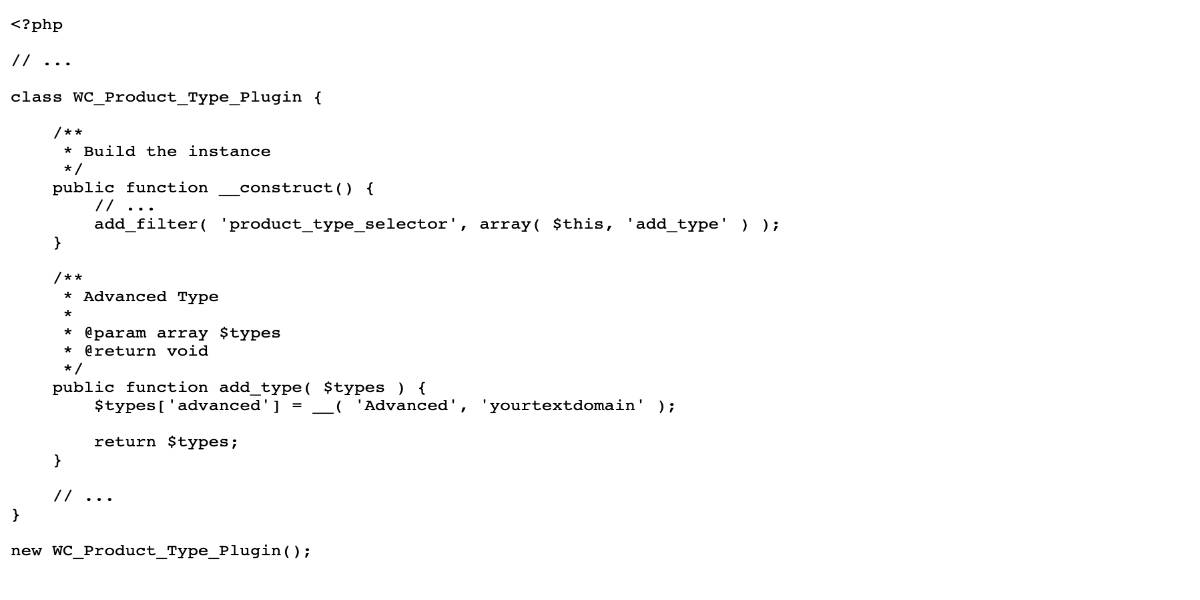
Step 3: Add the type as a product type taxonomy
WooCommerce will usually generate the product type on the first product saved as that product type. But if we want to make it available right now, we may do so when the plugin is active.
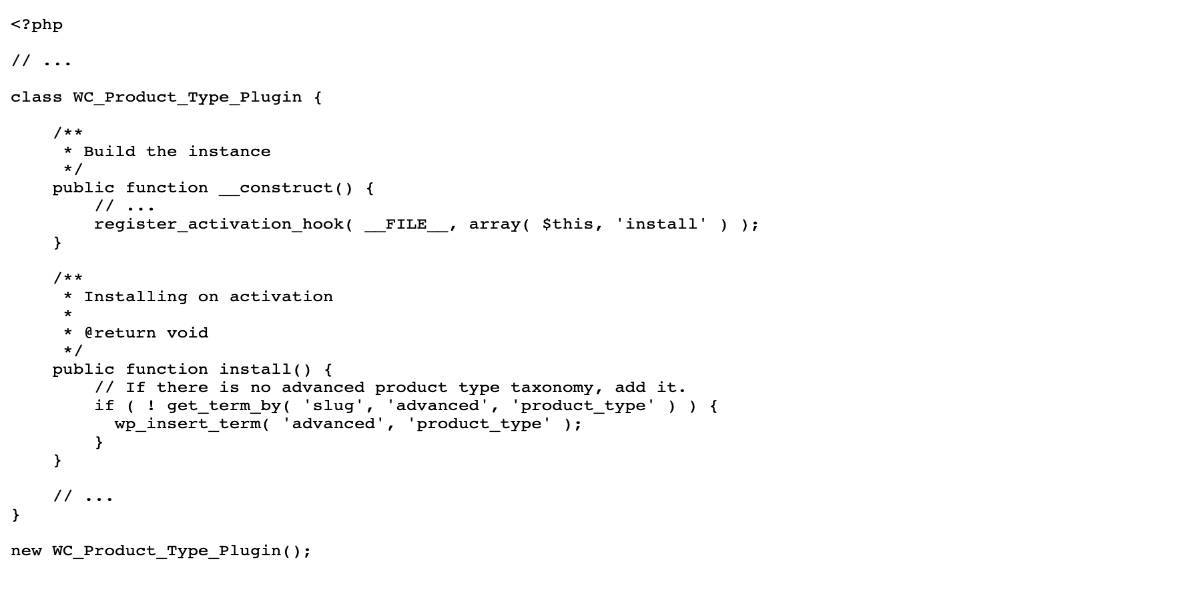
We will need to check to make sure that there is an existing term. If there aren’t any, we’ll add one.
Step 4: Add Advanced product pricing
Next, we will add the new pricing to the general page, among the other pricing options.
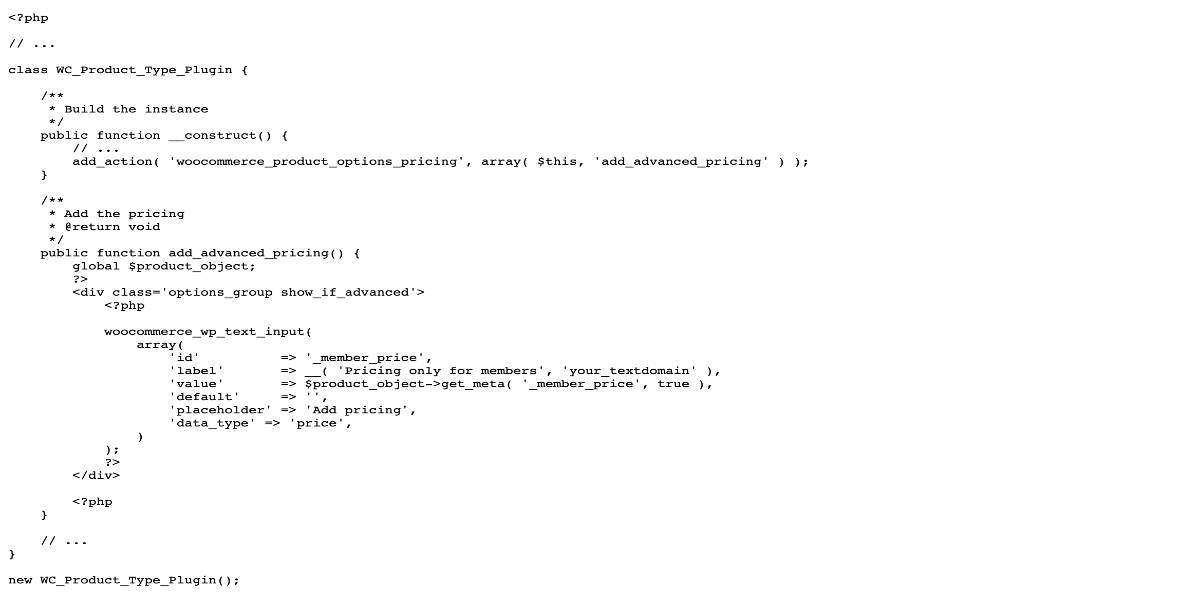
However, in some cases, we currently have a problem where our price does not appear.
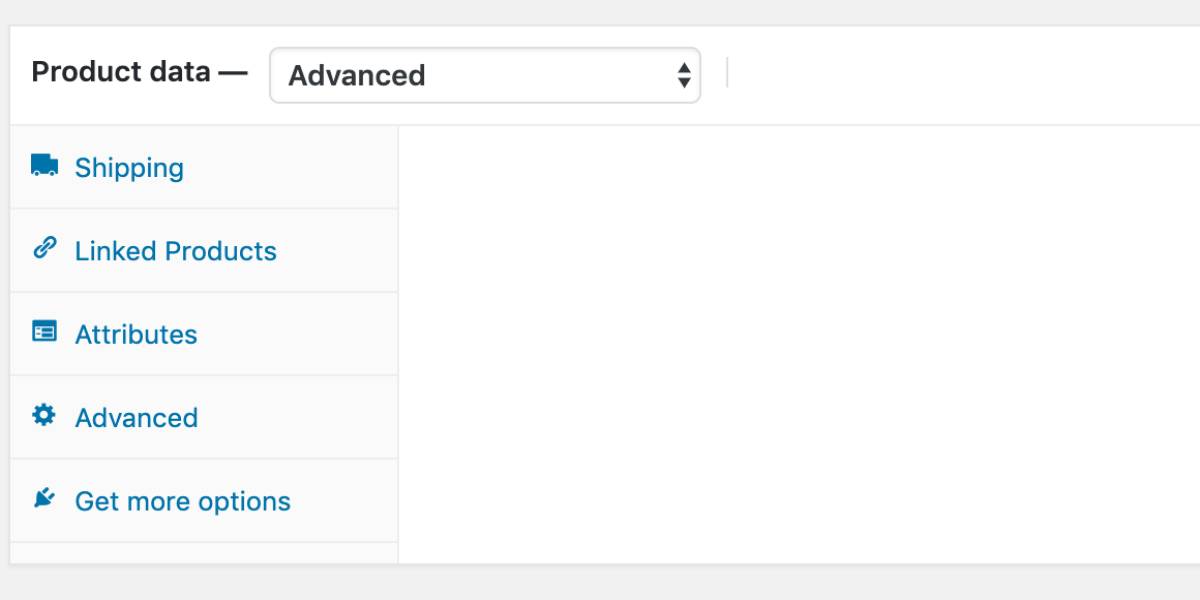
So, what’s the problem here? WooCommerce utilizes JavaScript to display tabs and content conditionally. If any options_group in there has show_if_advanced, the General tab will appear. Let’s start fixing this problem by adding an empty element to the General tab panel.
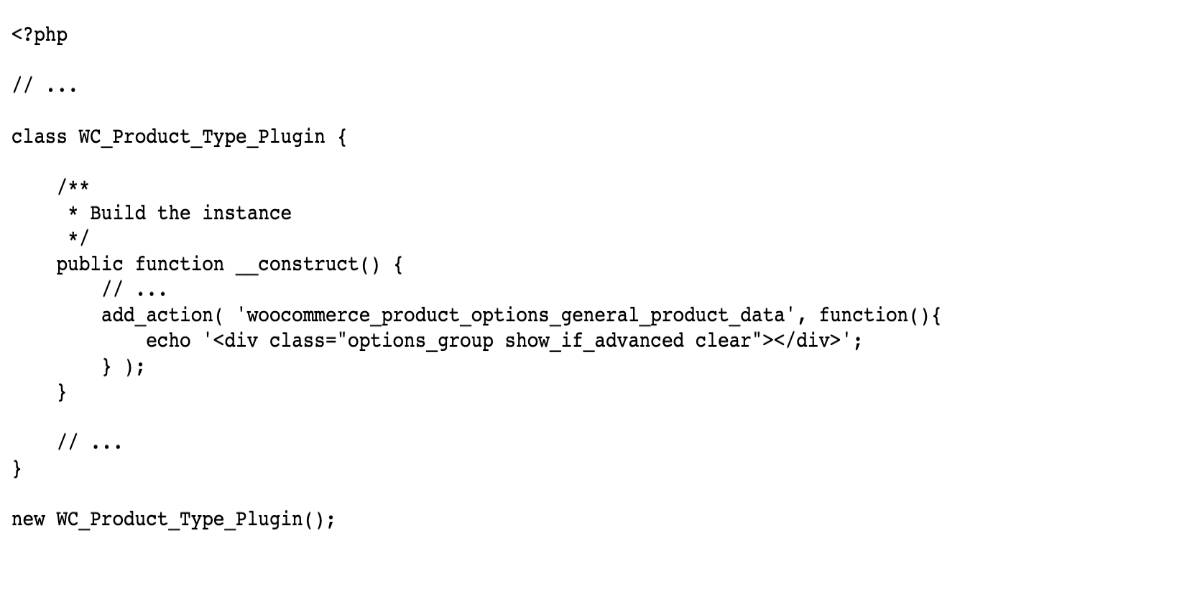
We’ve recently included an empty options group that must be displayed when utilizing the Advanced WooCommerce product type. But there is still a problem. The General tab is now visible. However, the price options are not. That is because the usual pricing choices are only available if the Simple product category is chosen. We have two choices to fix if there is no filter to make it display on other product types:
- Using JavaScript, display the price.
- Create a new standard pricing option (with a different name) and listen for changes in JavaScript to update the regular ones.
In this guide, we will go with the first choice.
Step 5: Showing the Regular Pricing Options
To display the typical price choices, we must add the show_if_advanced class to that options group and show them on load if the current product is the Advanced one.
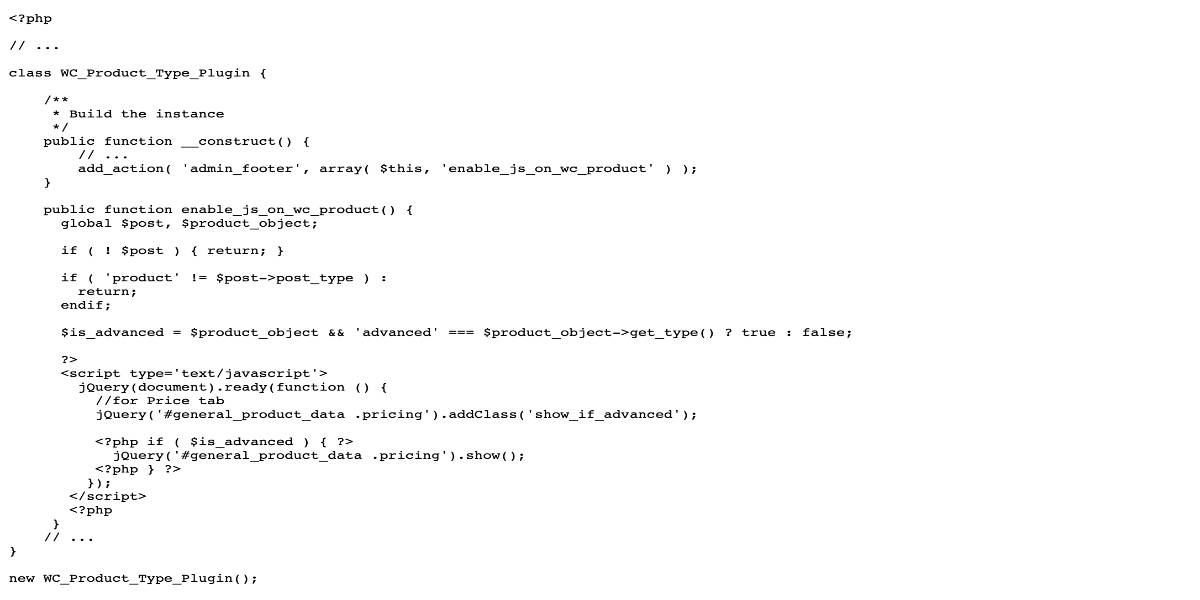
We could have created a separate JavaScript file for that, but I’ve put it inside the admin footer for this article. You may leave it as because it is unique and does utilize PHP to display price alternatives. There is no harm here. We’ve corrected the problem, and all price choices are now visible.
Step 6: Save and publish new settings
Before saving the process, let’s add the new custom tab and panel for your WooCommerce product type.
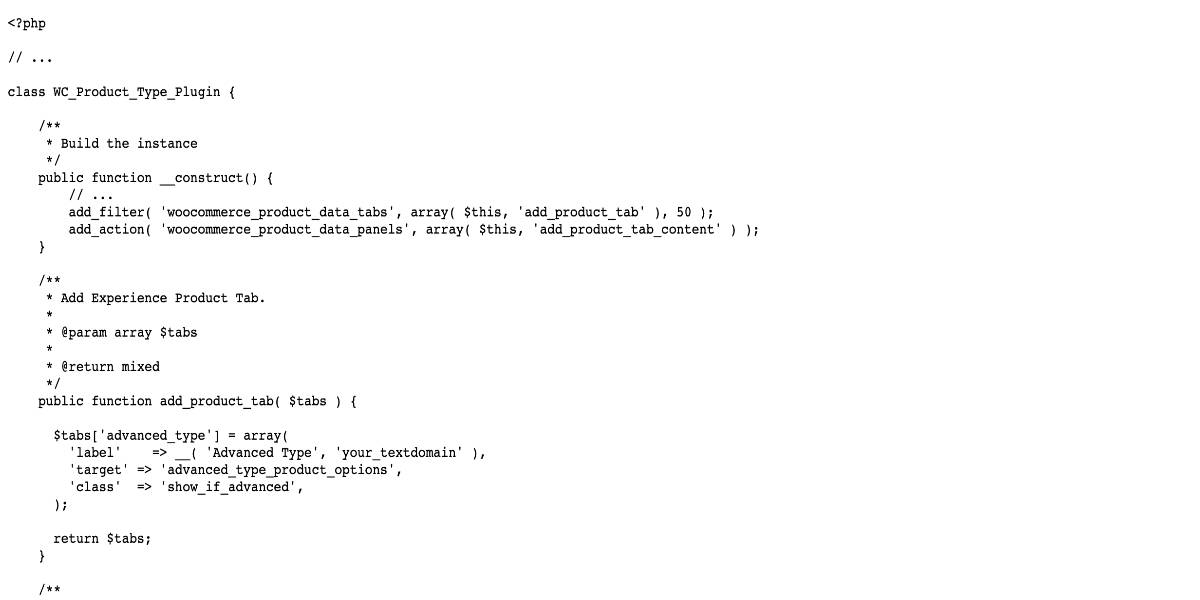
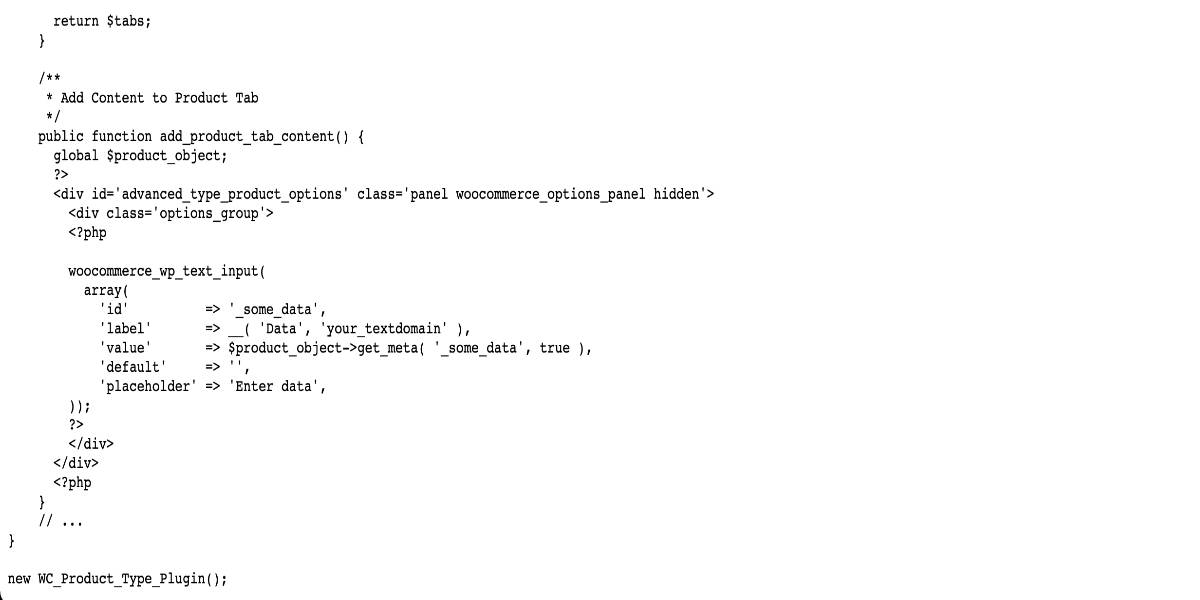
We’ve created a tab that will only appear if we’ve selected the Advanced product type with this code. We’ve also included a panel that will appear when that tab is clicked. It is first concealed. Otherwise, it may appear on the first page load. This panel and input are simply intended to demonstrate how to do so. We’re not going to save this until the next chapter. Finally, let’s now connect to a WooCommerce saving process action to protect data relevant to the WooCommerce product type we’ve chosen. To process detailed data for a product type, WooCommerce employs the action woocommerce_process_product_meta{PRODUCT_TYPE}.
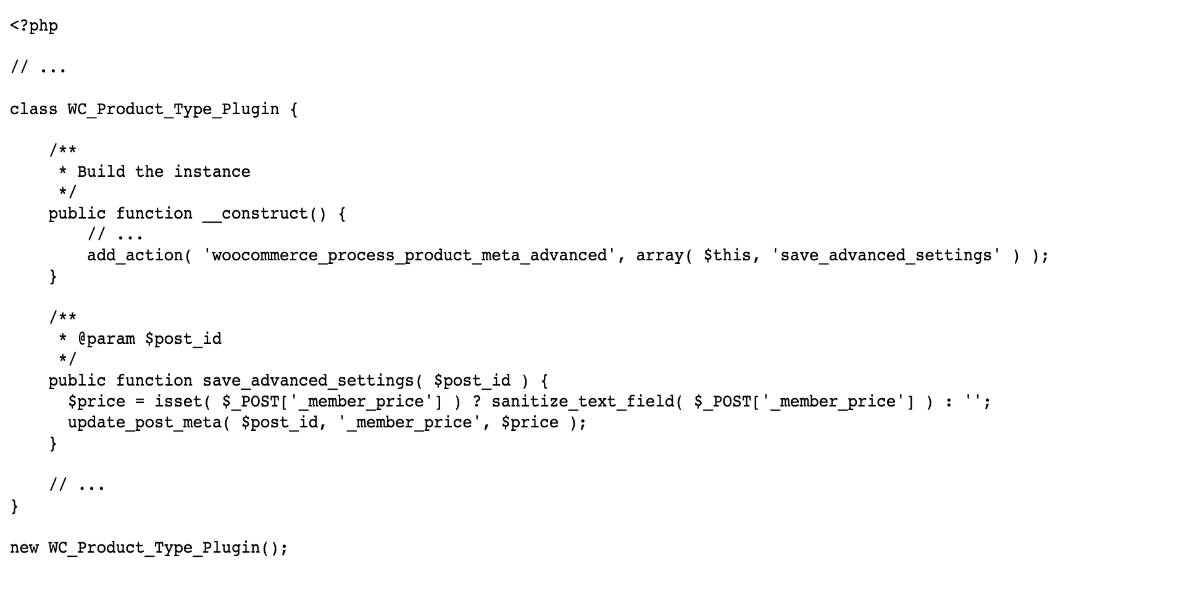
You can add your saving method for the data you wish to store here. You now have an operational custom WooCommerce Product Type.
Method 2: Using the third-party plugin
You may also add more product categories by utilizing specialized plugins, such as WooCommerce Subscriptions and Memberships extensions. We’ll go through some of the most popular WooCommerce product kinds that can be created using plugins.
Bookable product
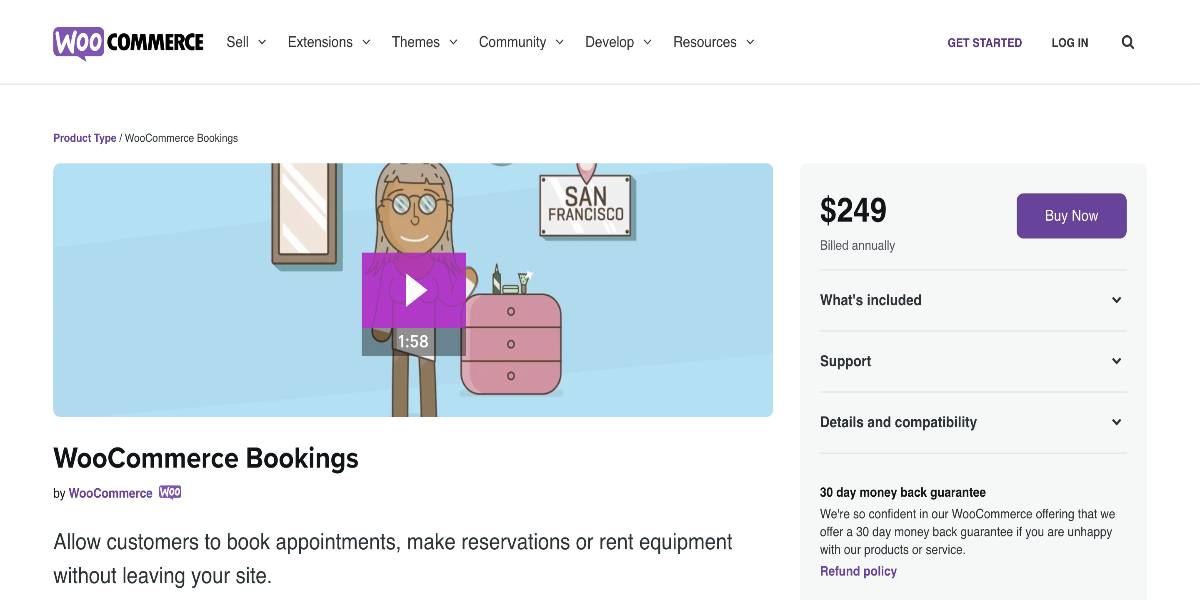
Plugins such as WooCommerce Bookings can assist you in making bookable products on your site. When creating the product, select the ‘‘Bookable product’’ option from the drop-down menu. The solution will have choices to assist you in defining the available time slots for booking from which consumers may pick. It may be a fantastic choice for rentals, lodging reservations, appointments, and gatherings.
Membership product
The WooCommerce Memberships plugin allows you to sell memberships as a product category and grant different membership levels restricted access. Furthermore, it may be used with subscriptions to offer some unique features to memberships, such as recurring payments.
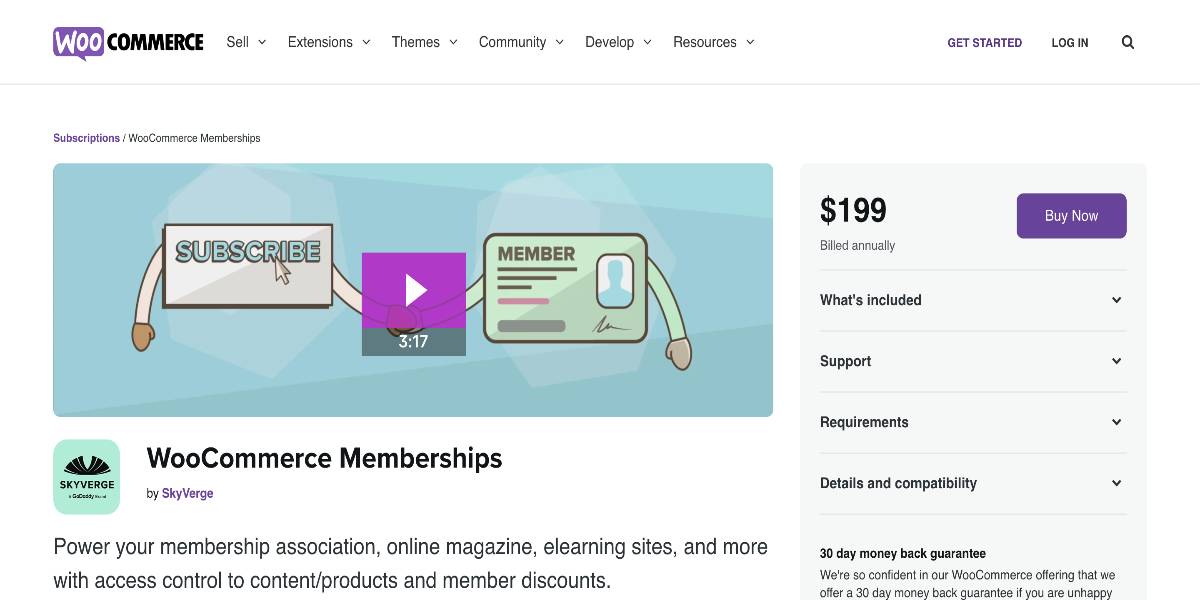
When you install the Memberships plugin, you will connect any of your product categories with a membership plan in your business. Simply build a product of the required type and then construct several membership plans as attribute values. The plugin allows you to design membership plans and then attach them to the product you’ve developed.
Subscription product
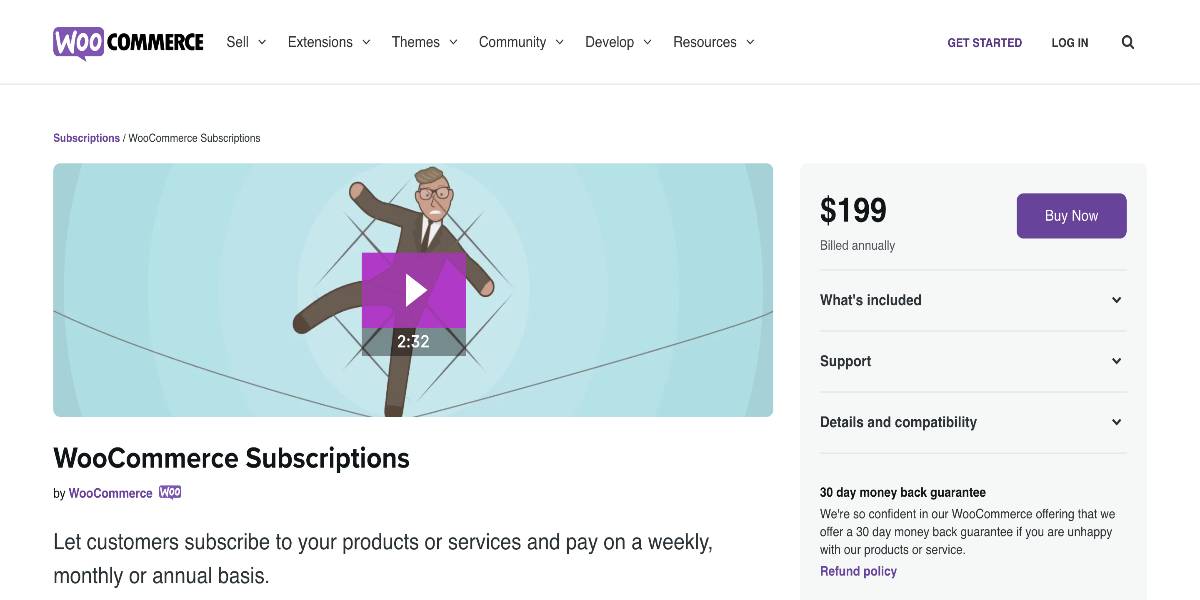
Subscription products may be created utilizing various plugins such as WooCommerce Subscriptions. After installing the WooCommerce subscriptions plugin, you will create two new product types: simple subscriptions and variable subscriptions. You will be able to handle subscription items efficiently with recurring payment choices and more with the assistance of the plugin. While creating the product, you may select between a ‘‘Simple subscription’’ or a ‘‘Variable subscription,’’ and then configure the product’s other features.
Bundled product
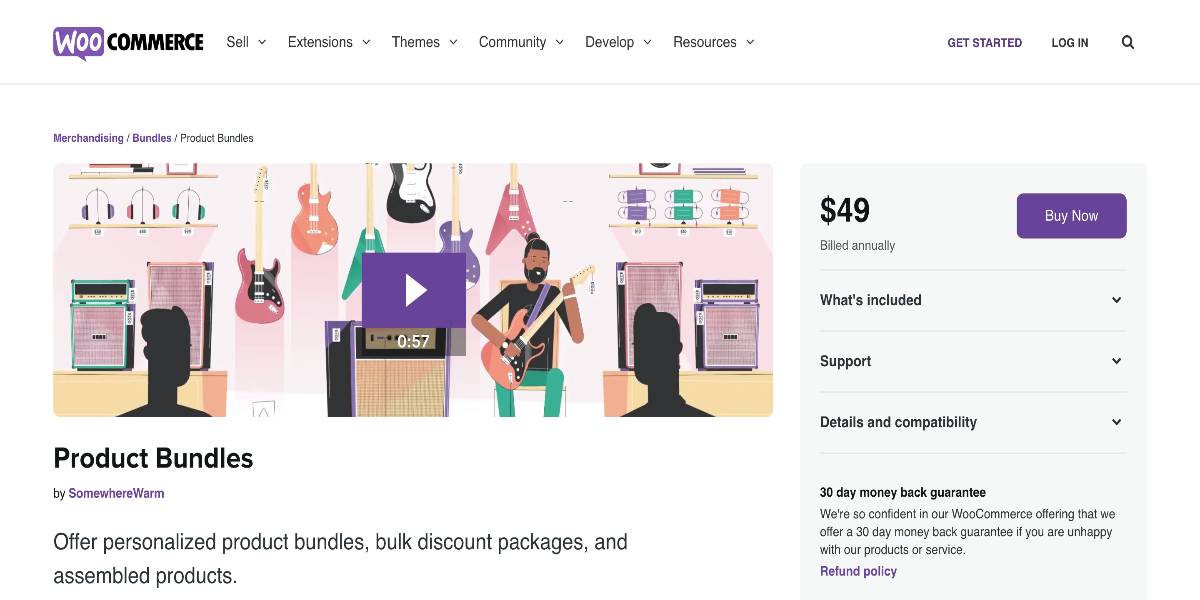
You may build bundled products in your store with WooCommerce Product Bundles. In the Product Data meta box, you will have the option to choose the product type as ‘‘Product Bundle.’’ Except for Grouped and External items, you can add any other product category to the bundle. You can change the price of a combined product or keep the pricing of the individual goods in the bundle the same.
Auctions
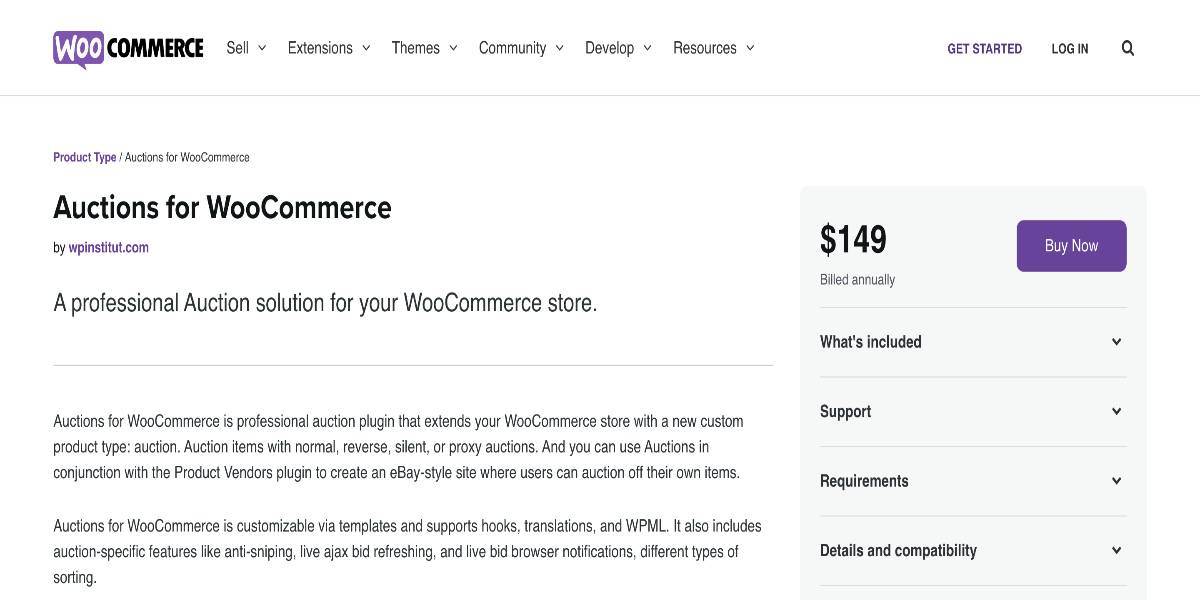
The Auctions for WooCommerce plugin will allow you to add a new custom product type called auction. You may use this product type to display various auctions in your store. Other characteristics necessary for an Auction product, such as start and finish timings, bid increments, and so on, are available for this plugin.
Conclusion
Creating a custom WooCommerce product type is an excellent method for having more granular control over product kinds and how they sell (or provide). Using the power of OOP and inheritance, you may avoid writing much of the code that has already been developed in other product types instead of focusing on the individual portions of your product type.
We hope this tutorial will help you to understand how to add a custom product type in WooCommerce. Let’s start designing your personalized product category today to create a more efficient and effortless product management system!


