How to Add Contact Form to Shopify Stores
A contact form is essential for the effective operation of a contemporary website. It is a critical component in every website, regardless of its topic matter. Visitors provide feedback, complaints, and recommendations using the contact form, which will assist you in making the sale and buying procedure more convenient. This is undoubtedly one of the most acceptable ways for Shopify business owners to improve communication with their consumers.
This article will explain to you how to add a contact form to Shopify stores. Each client expects to contact the vendor to explain any concerns about specific goods or services. There is a simple process that any Shopify user can do with a few minor adjustments. So, let us dive in!
Why do we need to add the contact forms to Shopify stores?
A contact page can assist convince clients that you are running a legitimate business and care about them. This is particularly true if you put additional contact information on the page, such as your mailing address or phone number. Customers will feel more confident about purchasing if they know they can reach you when they have any problems with their order.
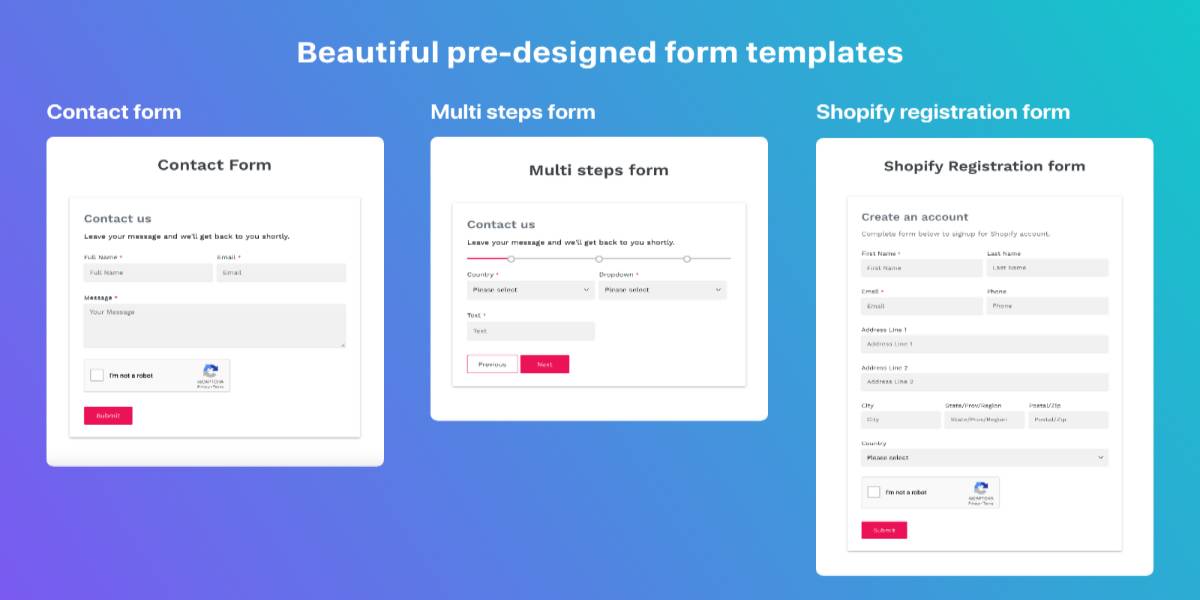
Having a highly prominent and easily accessible contact page can also help you create more sales. If a consumer has a question or two that they’d want to be answered before making a purchase, they may utilize the contact form to get in touch with you and immediately receive the answers they need.
How to add a contact form to your Shopify store
Method 1: Using the built-in features
Step 1: Backup your theme
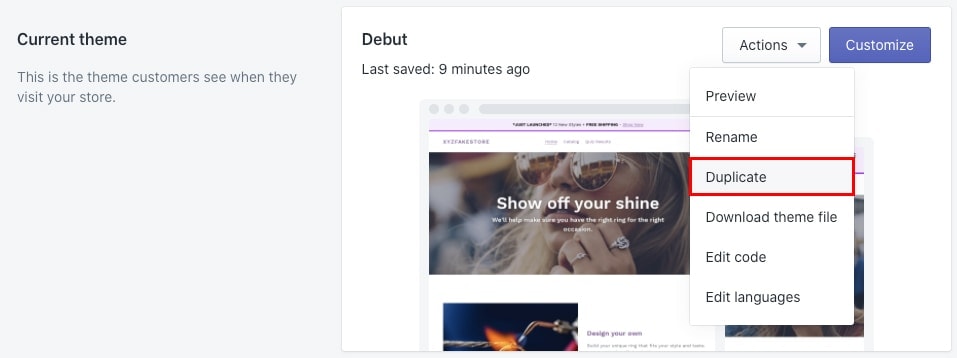
The first and foremost step, you must backup your data. Remember never to make changes to the code of a live shop while it is in production. You need to make a second version first, then utilize Shopify’s preview capability to see how your changes will look. To do so, navigate to Online Store > Themes in your Shopify dashboard. Locate your active theme and select Duplicate from the Actions drop-down menu.
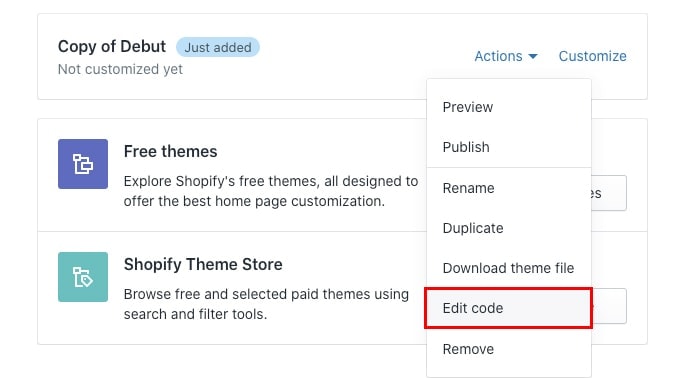
When that duplicates, go back to the Actions menu and choose Edit code.
Step 2: Set up a Shopify contact page
Next step, you need to set up a Shopify contact page. You must first establish a contact page to add a Shopify contact form to your online store. If you build a page with no content, the contact form will be the only thing that appears on the page. To make a contact page, follow these steps:
- You must access the Shopify admin panel and navigate to Online Store > Pages.
- Click the Add page button.
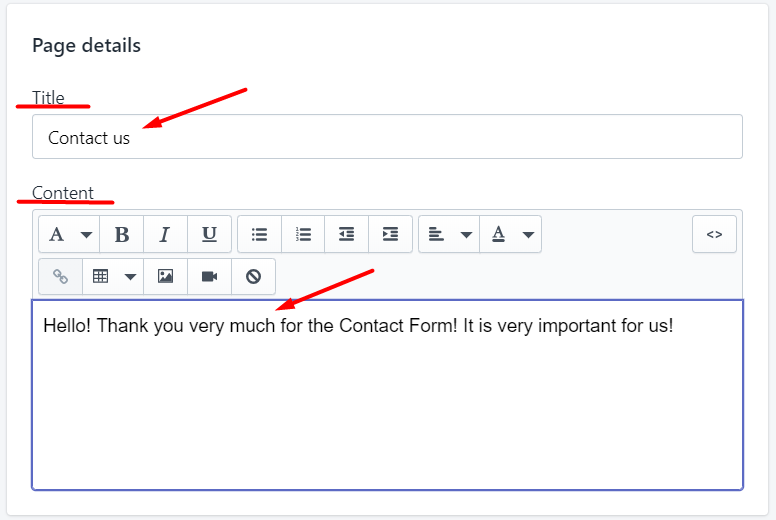
- Enter the name of your contact page in the Title area, for example, “Contact us” or “Get in touch.”
- Fill in the Content area with whatever text you wish to appear above the contact form. It is preferable if the wording is brief, pleasant, and calls for action. You may provide your contact information here, such as your store’s address, phone numbers, and so on.
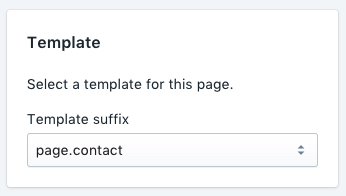
- Select page.contact from the Template suffix drop-down option in the Template block:
- And then click Save.
Your contact form is now visible on the contact page. You may include a contact page in the navigation menu so that your visitors can always find it. All contact form messages are delivered to the email address given in your Shopify store’s general settings. You may easily update this address in your admin panel if required.
Step 3: Add a custom field to the contact form
There are frequently insufficient primary contact form fields, and you may need to collect more comprehensive user information while interacting with your clients. In this scenario, you may expand your contact form with additional fields. To accomplish this, you must include these fields in the code. To add more fields to the contact form in the code, do the following:
- Navigate to the Online Store > Themes section of your Shopify admin panel.
- Then, in the Actions drop-down box, choose Edit code for the theme you wish to edit.
- You now have a complete list of your theme files. You must choose the page.contact.liquid file from the Templates folder.
- The Shopify contact us form code is contained inside the following tags:
- Each theme is unique, but it roughly looks like this:
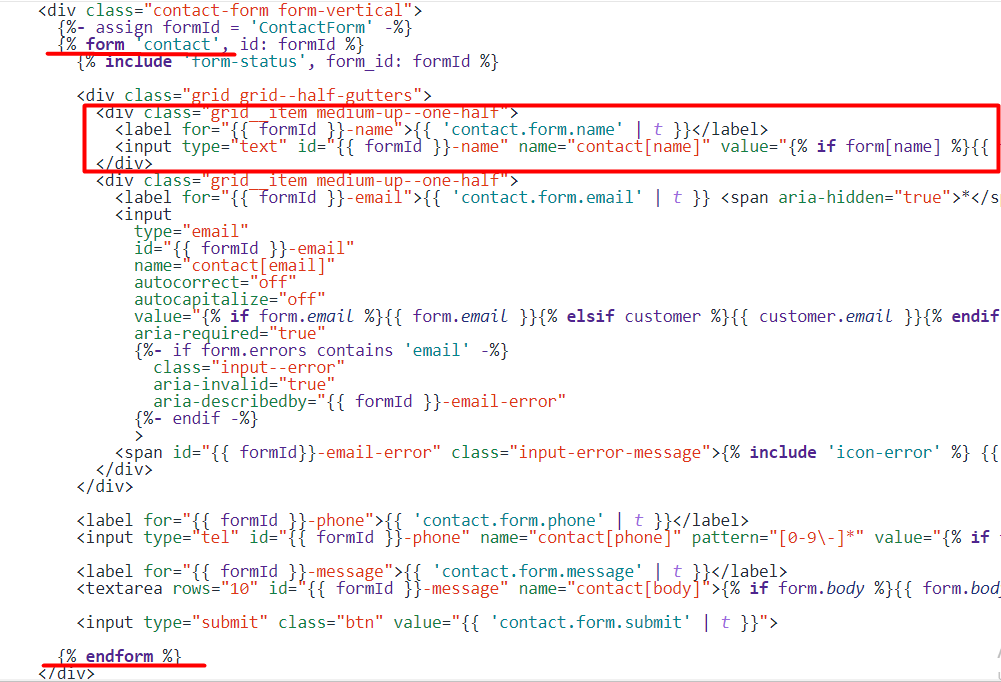
- For the name, a form field, such as contact.form.name, is chosen in the rectangle. Contact.form.email, contact.form.phone, and contact.form.message are examples of contact forms.
- Depending on your preferences, you may put code for your extra fields before, after, or between the current areas. The code you enter will be determined by the type of form field you wish to create.
- Remember to click Save once you’ve added all of the fields you’ll need.
Step 4: Define the field types of the contact form
After adding some additional fields to your contact form, you can continue to define the field types. Form field samples are provided below so that you may add a contact form to Shopify and customize the form fields to suit your requirements:
- Text field: Consider what information you want to obtain from your customer and which fields should be necessary and which should not. All of these features are completely customizable by you. To add a text box to your contact form, copy and paste the following code:
<label for="ContactFormCountry">Country</label>
<input type="text" id="ContactFormCountry" name="contact[Country]" placeholder="Country">
- Dropdown menu: Insert and adjust the following code to create a drop-down menu for Shopify’s contact us form:
<label for="ContactFormFlavor">Choose a flavor</label>
<select id="ContactFormFlavor" name="contact[Flavor]">
<option>Chocolate</option>
<option>Vanilla</option>
<option>Strawberry</option>
</select>
Step 5: Customize the field of your contact form
To make the form fields you added more personalized, change the code from the preceding instances before saving them in the contact form template. Then, add the features you require on the Shopify form, such as name, value, placeholder, and label. You should get a contact form after filling out these fields:
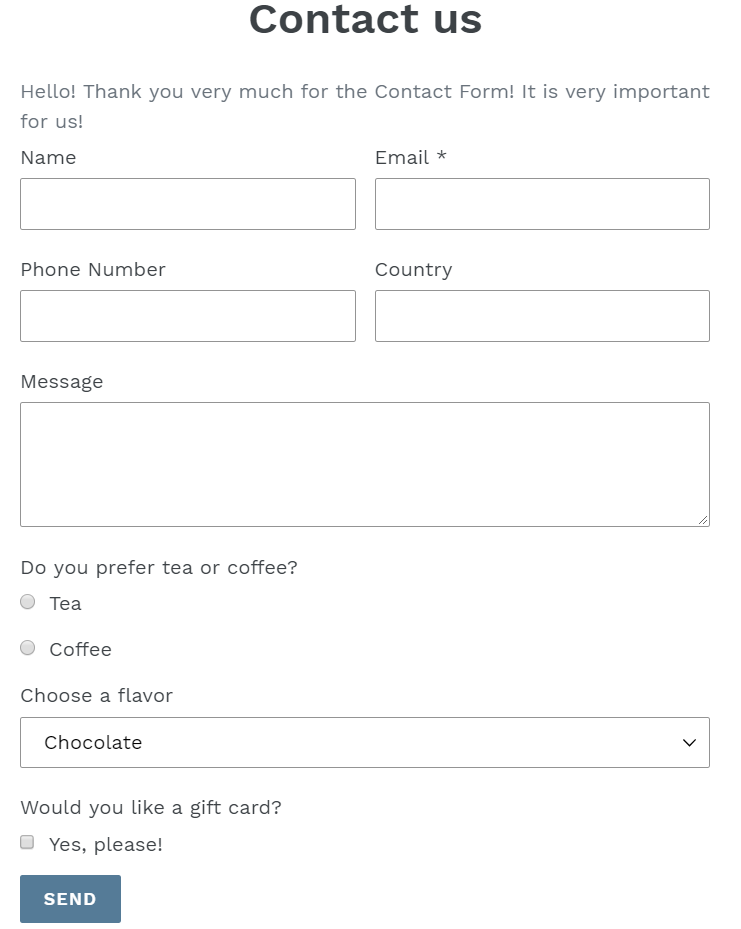
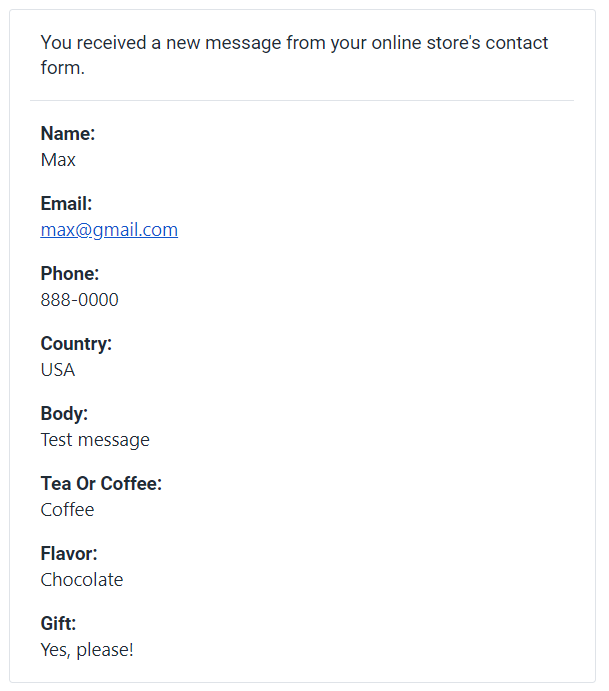
And, if the customer completes this contact form, you will receive an email with the following report:
Method 2: Coding
You may include a contact form in your theme to allow customers to contact the merchant programmatically. You can consist of this form by using the Liquid form tag and the ‘contact’ option. You may add two distinct forms of input within the state:
- Inputs required
- Optional inputs
Here’s an example of a form using both of the above input types:
{% form 'contact' %}
  {{ form_errors | default_errors }}

  <div class="first-name">
    <label for="first-name">First name</label>
    <input type="text" name="contact[first_name]" />
  </div>

  <div class="last-name">
    <label for="last-name">Last name</label>
    <input type="text" name="contact[last_name]" />
  </div>

  <div class="email">
    <label for="email">Email</label>
    <input type="email" name="contact[email]" />
  </div>

  <div class="order-number">
    <label for="order-number">Order number</label>
    <input type="text" name="contact[order_number]" />
  </div>

  <div class="message">
    <label for="message">Message</label>
    <textarea name="contact[body]"></textarea>
  </div>

  <div class="submit">
    <input type="submit" value="Create" />
  </div>
{% endform %}
Method 3: Using the third-party plugin
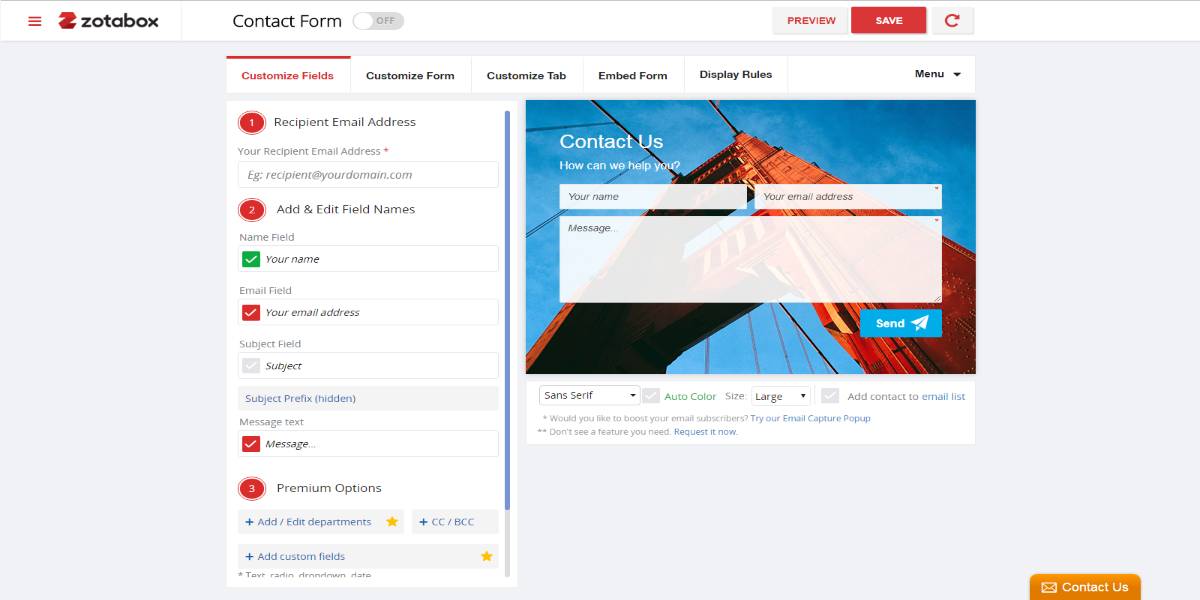
You may utilize one of the Shopify apps to construct a contact form. They provide helpful features such as adaptable layouts, drop-down lists, checkboxes, date pickers, anti-spam filters, multi-language support, easy color options, font and background settings, and so on. We recommend you to use the plugin Easy Contact Form to create and customize your contact form on Shopify.
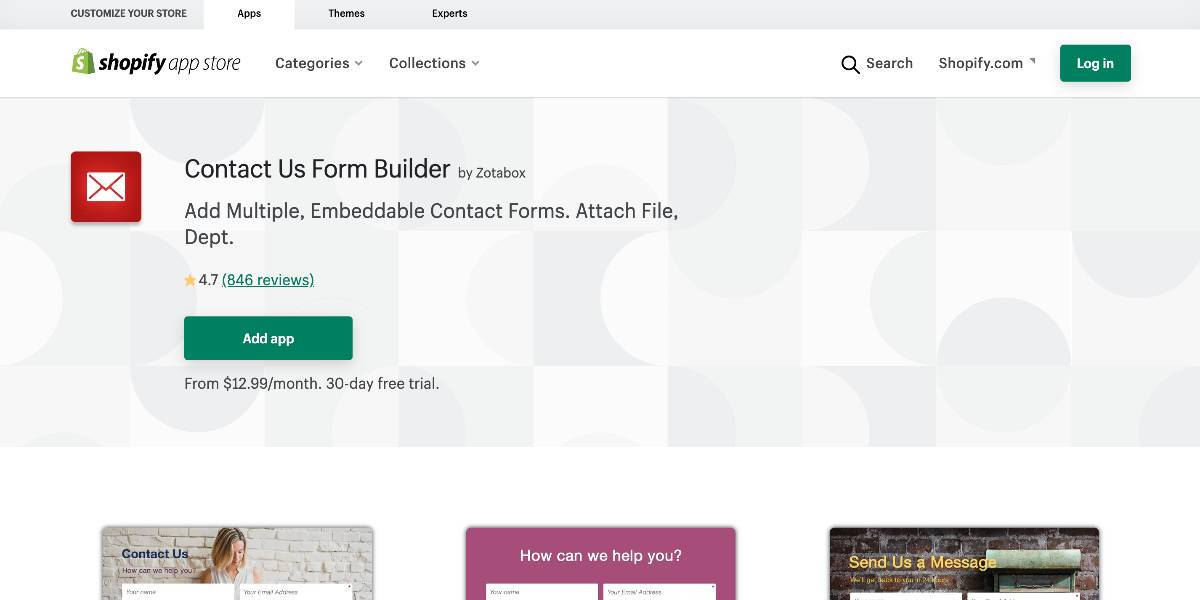
Easy Contact Form is a free application that Zotabox develops to build an infinite number of contact forms. It features a responsive design, so your forms will look great and operate on mobile devices like phones and tablets. You may modify the creation of the forms to match your store’s existing branding. The installation and setting steps for the Easy Contact Form app are pretty straightforward. It also has Ajax and HTML5 code and the ability to download background pictures. Easy Contact Form includes a free 30-day trial. After the trial period expires, you must select one of the premium plans, which begin at $9.99 per month.
Valuable tips to optimize your Shopify contact form
We’ll go through recommended practices now that you’ve learned how to add a contact form to your Shopify business. Here are 4 things to bear in mind to guarantee visitors have no trouble completing your contact form.
- Keep it short: When it comes to filling out online forms, most individuals are impatient. That’s why you should make it as simple as possible for them to fill out your contact form. One method is to keep the layout as minimal as possible – include essential fields. By keeping it simple, you also limit the possibility of irritating consumers who are already angry due to a problem with their order or a negative experience with your website.
- Add a Call to action: The call-to-action instructs your consumers on what they must do to continue to the next stage. It’s an essential component of your contact page. As a result, it must stand out and be the first thing people notice when they visit the page. Making your CTA a distinct color from the rest of your page is one of the simplest methods to make it stand out. Make your CTA a contrasting color (for example, if your website’s backdrop is white, make your CTA red, blue, or orange).

- Show off your brand’s identity: Your contact page should represent the personality of your brand. Avoid designing a bland, generic contact page, as this may give clients the impression that the whole encounter will be impersonal and inauthentic. Use concise and straightforward wording, so your consumers understand what they need to do to go to the next stage. Aside from the tone of the content on the contact page, you should also ensure that the page’s appearance fits the rest of your website.
- Mobile friendly: One-third of all eCommerce transactions are performed using mobile devices. Therefore it’s not surprising that many of your consumers will visit your contact page by mobile device. Please don’t make the mistake of believing that your contact page will operate appropriately on mobile devices simply because it appears to work fine on a desktop. Keep in mind that mobile visitors will not engage with your website the same as desktop users will. They won’t have access to a mouse or a touchpad, so they’ll navigate your website using their fingertips.
3 best plugins to create the contact form in Shopify
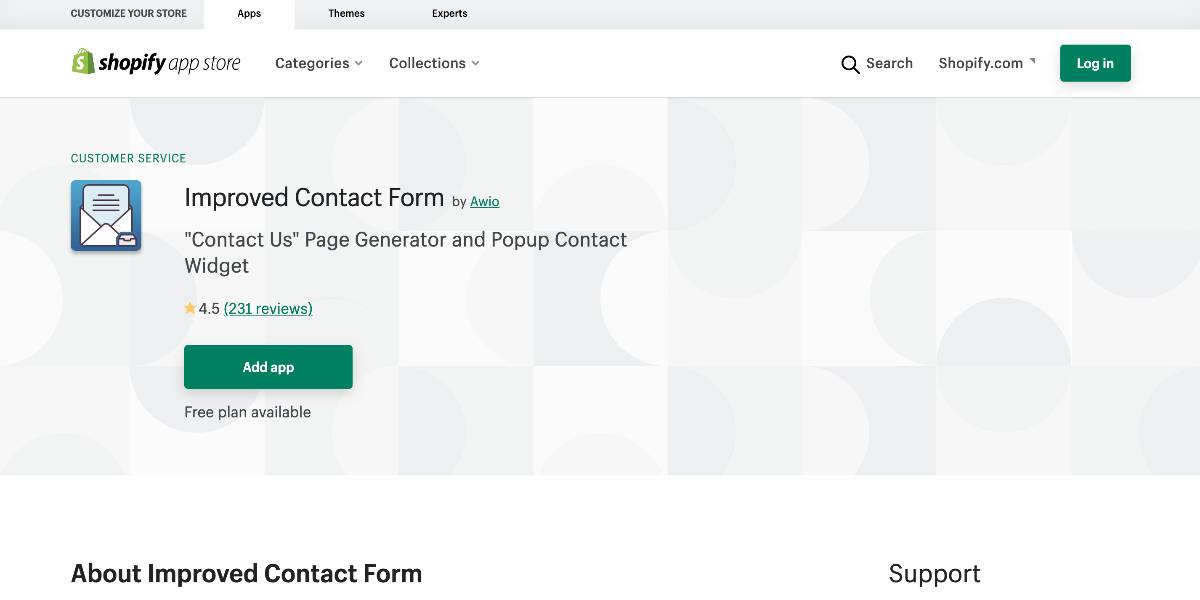
Improved Contact Form
Improved Contact Form will make it simple to add a pop-up contact form to your website or a standard format to a store page. Furthermore, you may choose which fields to display in your contact forms, such as name, email address, or phone number. Spam prevention is already incorporated into the app. The Improved Contact Form will also give you vital information about the visitors who filled out and sent your contact form, such as their location, IP address, the sites they visited before contacting you, and, most importantly, how they accessed your site. These specifics will allow you to better understand your consumers and, as a consequence, satisfy their demands.
Outstanding features:
- You may connect to your free “Contact Us” page from your menu.
- Customize the fields on your contact form (name, email, phone, etc.).
- There is no need to log in to a website to check messages when you receive contact from submissions at your current mailbox.
- Bot spam prevention is included.
- Mobile browsers benefit from responsive design.
Price: Improved Contact Form is entirely free to use. There are no restrictions on the number of individuals who can contact you.
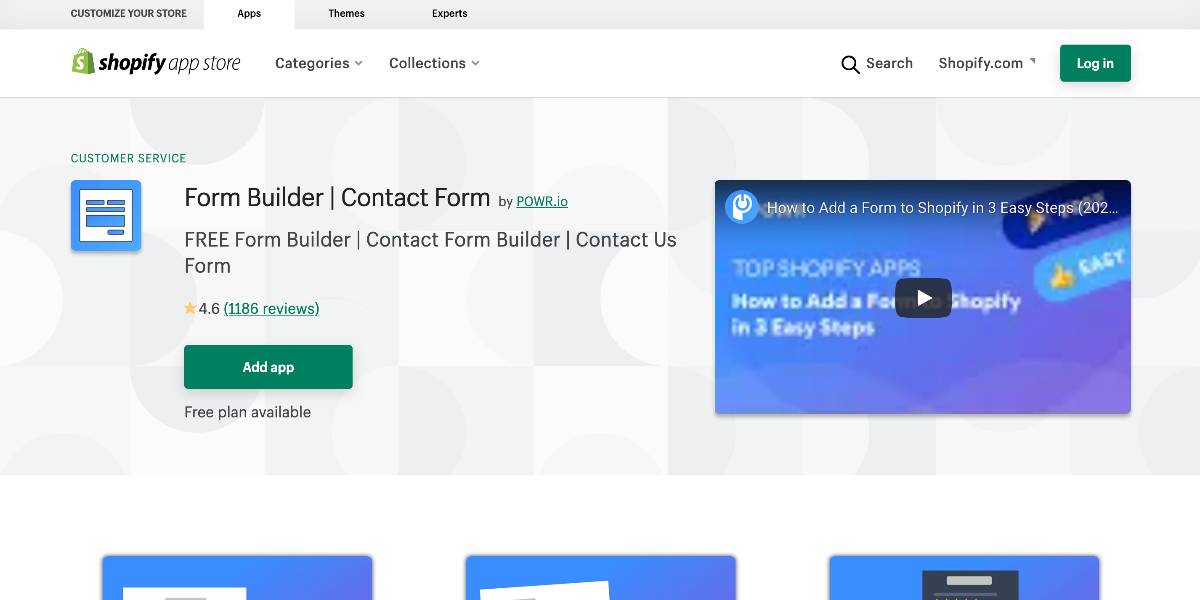
POWr Form Builder
POWr Form Builder allows you to design accessible, professional, user-friendly, and adaptable forms for gathering whatever information you want for your business. The program has many useful features, such as automated email responses to customer-filled conditions, anti-spam protection, the option to download a file, a multi-page form, and much more.
Outstanding features:
- Email notifications for new form responses.
- Position your form wherever on the page, including making it appear when a user clicks on a custom floating button or a side tab.
- Automatic email replies - create your email autoresponder to send to your customers once they fill out your form. You may also send various emails dependent on the reaction of your consumer.
- All form data is kept on your own POWR Response Dashboard. With a single click, you may export them to CSV.
- The captcha should be included to prevent spam.
- Conditional logic entails displaying or hiding answers dependent on the user’s initial responses.
Price: There are four different plans, including the free one that is suitable for newcomers. The three other offers are at the cost of $8.99, $15.99, and $79.99. You can visit the plugin homepage to select the appropriate plans that are suitable for your business.
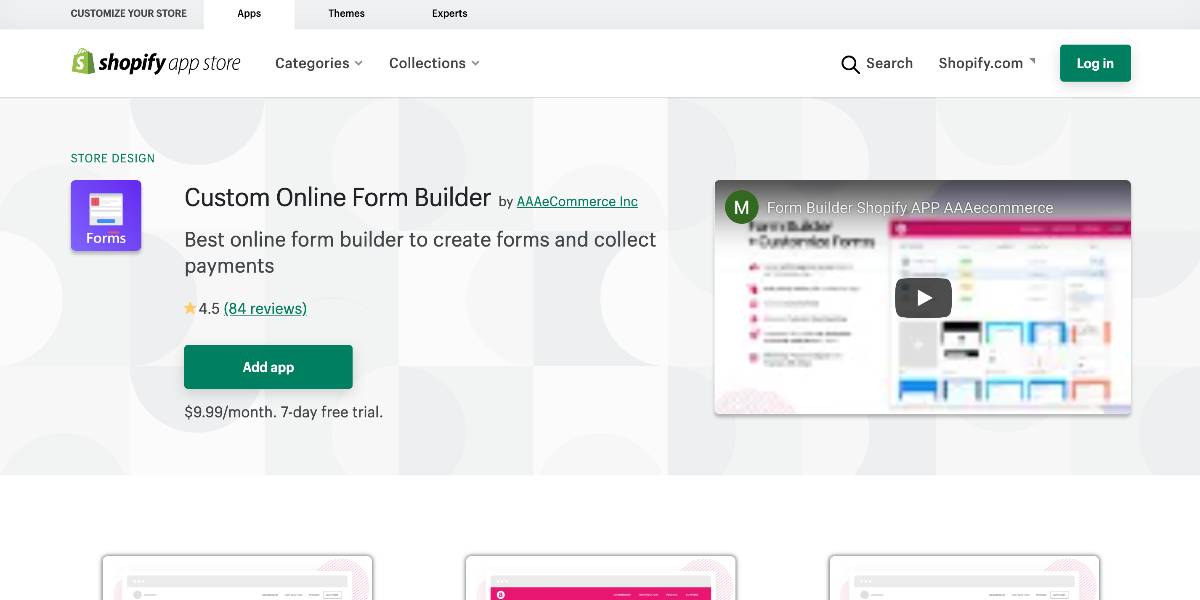
Form Builder for Custom Forms
Form Builder for Custom Forms is a beautiful form application that AAAeCommerce Inc developed. It is only available with a subscription. However, there is a two-day free trial. You will have access to several user forms, including a registration form, a customer profile update form, a purchase form, a feedback form, a contribution collecting paper, and others. You may quickly build whatever format you require with a few mouse clicks. It will include file uploads, custom fields, comprehensive customer reporting, MailChimp / Klaviyo connection, and the option to collect payments in the form through Stripe / PayPal.
Outstanding features:
- Drag-and-drop form builder - Use the plugin’s no-code form builder to create dynamic forms without the effort of coding.
- Multi-Page forms - To make the procedure easier, divide a long-form into many pages.
- After input is submitted, redirect responders to a success page, a web page, or another form.
- Email alerts - Send quick updates to your responders through email anytime they fill out a form.
- Share links - Distribute the URL to your form so that respondents may view and submit entries.
- Embed forms on websites - Embed forms on your website with a variety of simple embedding options.
Price: You can start to use this app with the subscription at the cost of $9.99.
Conclusion
We’ve shown you two options for adding a contact form to your Shopify store, but the decision is entirely yours. You may either make it yourself or utilize one of the Shopify app store’s apps. The most crucial thing is to have a contact form in your online store because it is one of the most popular ways for consumers to share information and a great marketing tool for a successful business.
After reading this article, we hope it will help you understand how to add a contact form to Shopify stores. Adding this functionality to your Shopify store is simple. All themes have a Shopify custom contact form that you can use on any of your pages. So, take advantage of these forms to create a more comprehensive contact page and peak your sales!


